A Saucy Dame

Classy, Sassy, A Bit Smartassy


Leave a comment

Instagram Made Me Do It: Macaroni & Cheese By Quinton Washington’s Mom

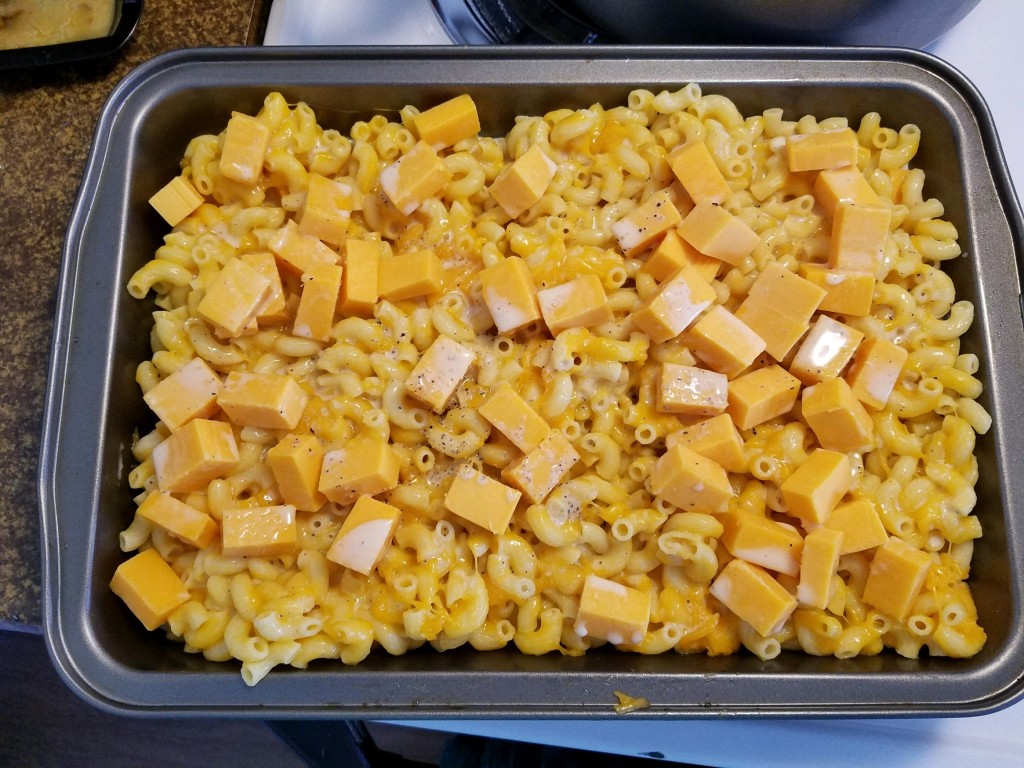
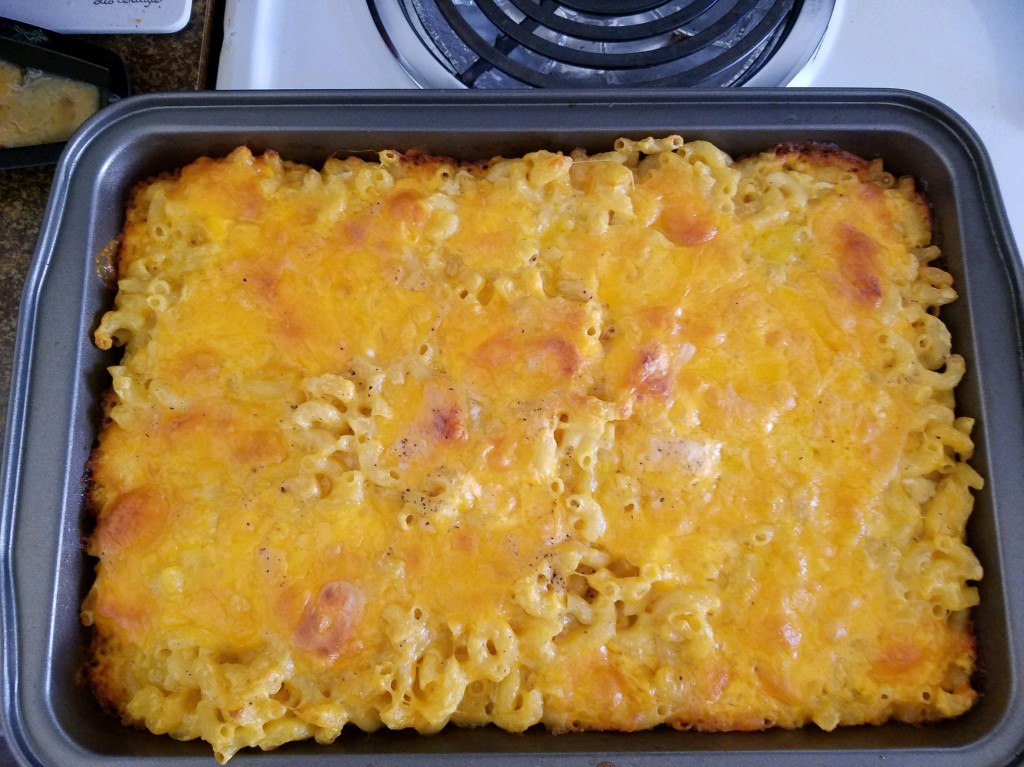
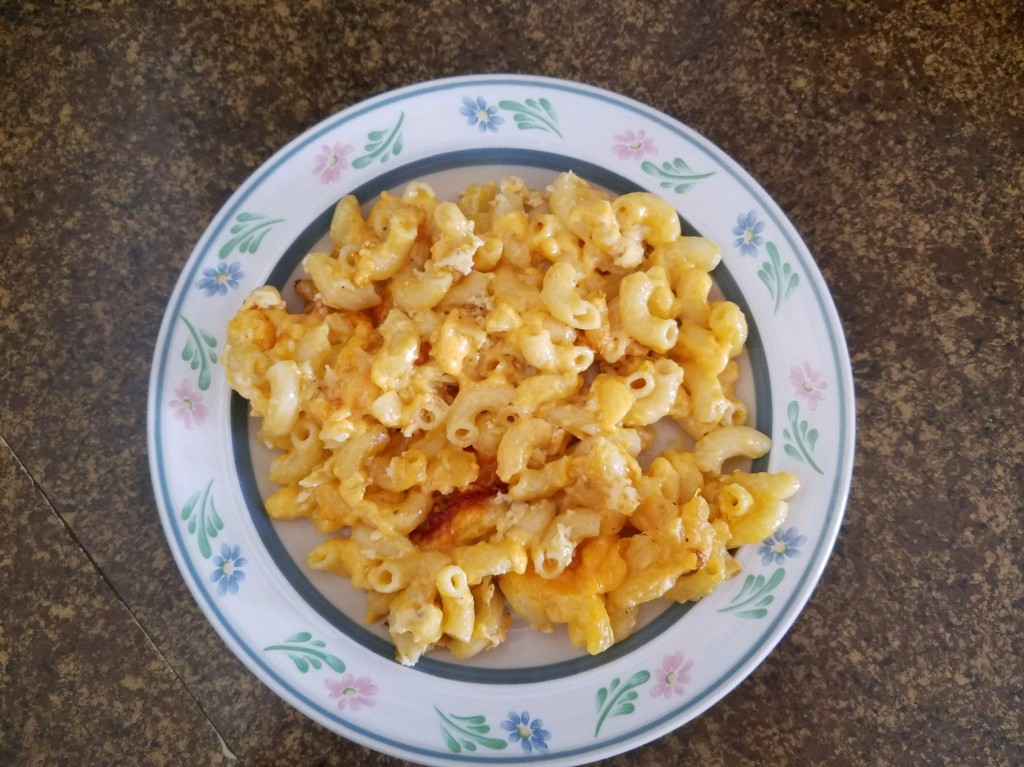
So, it’s been a minute since something on social media has caused me to run to the store to get the ingredients. But……. I saw a video on BuzzFeedTasty’s (@buzzfeedtasty) Instagram account, and off I went to the store! Quinton Washington shared his mother’s Macaroni & Cheese recipe. Here is my take on it.

Recipe:

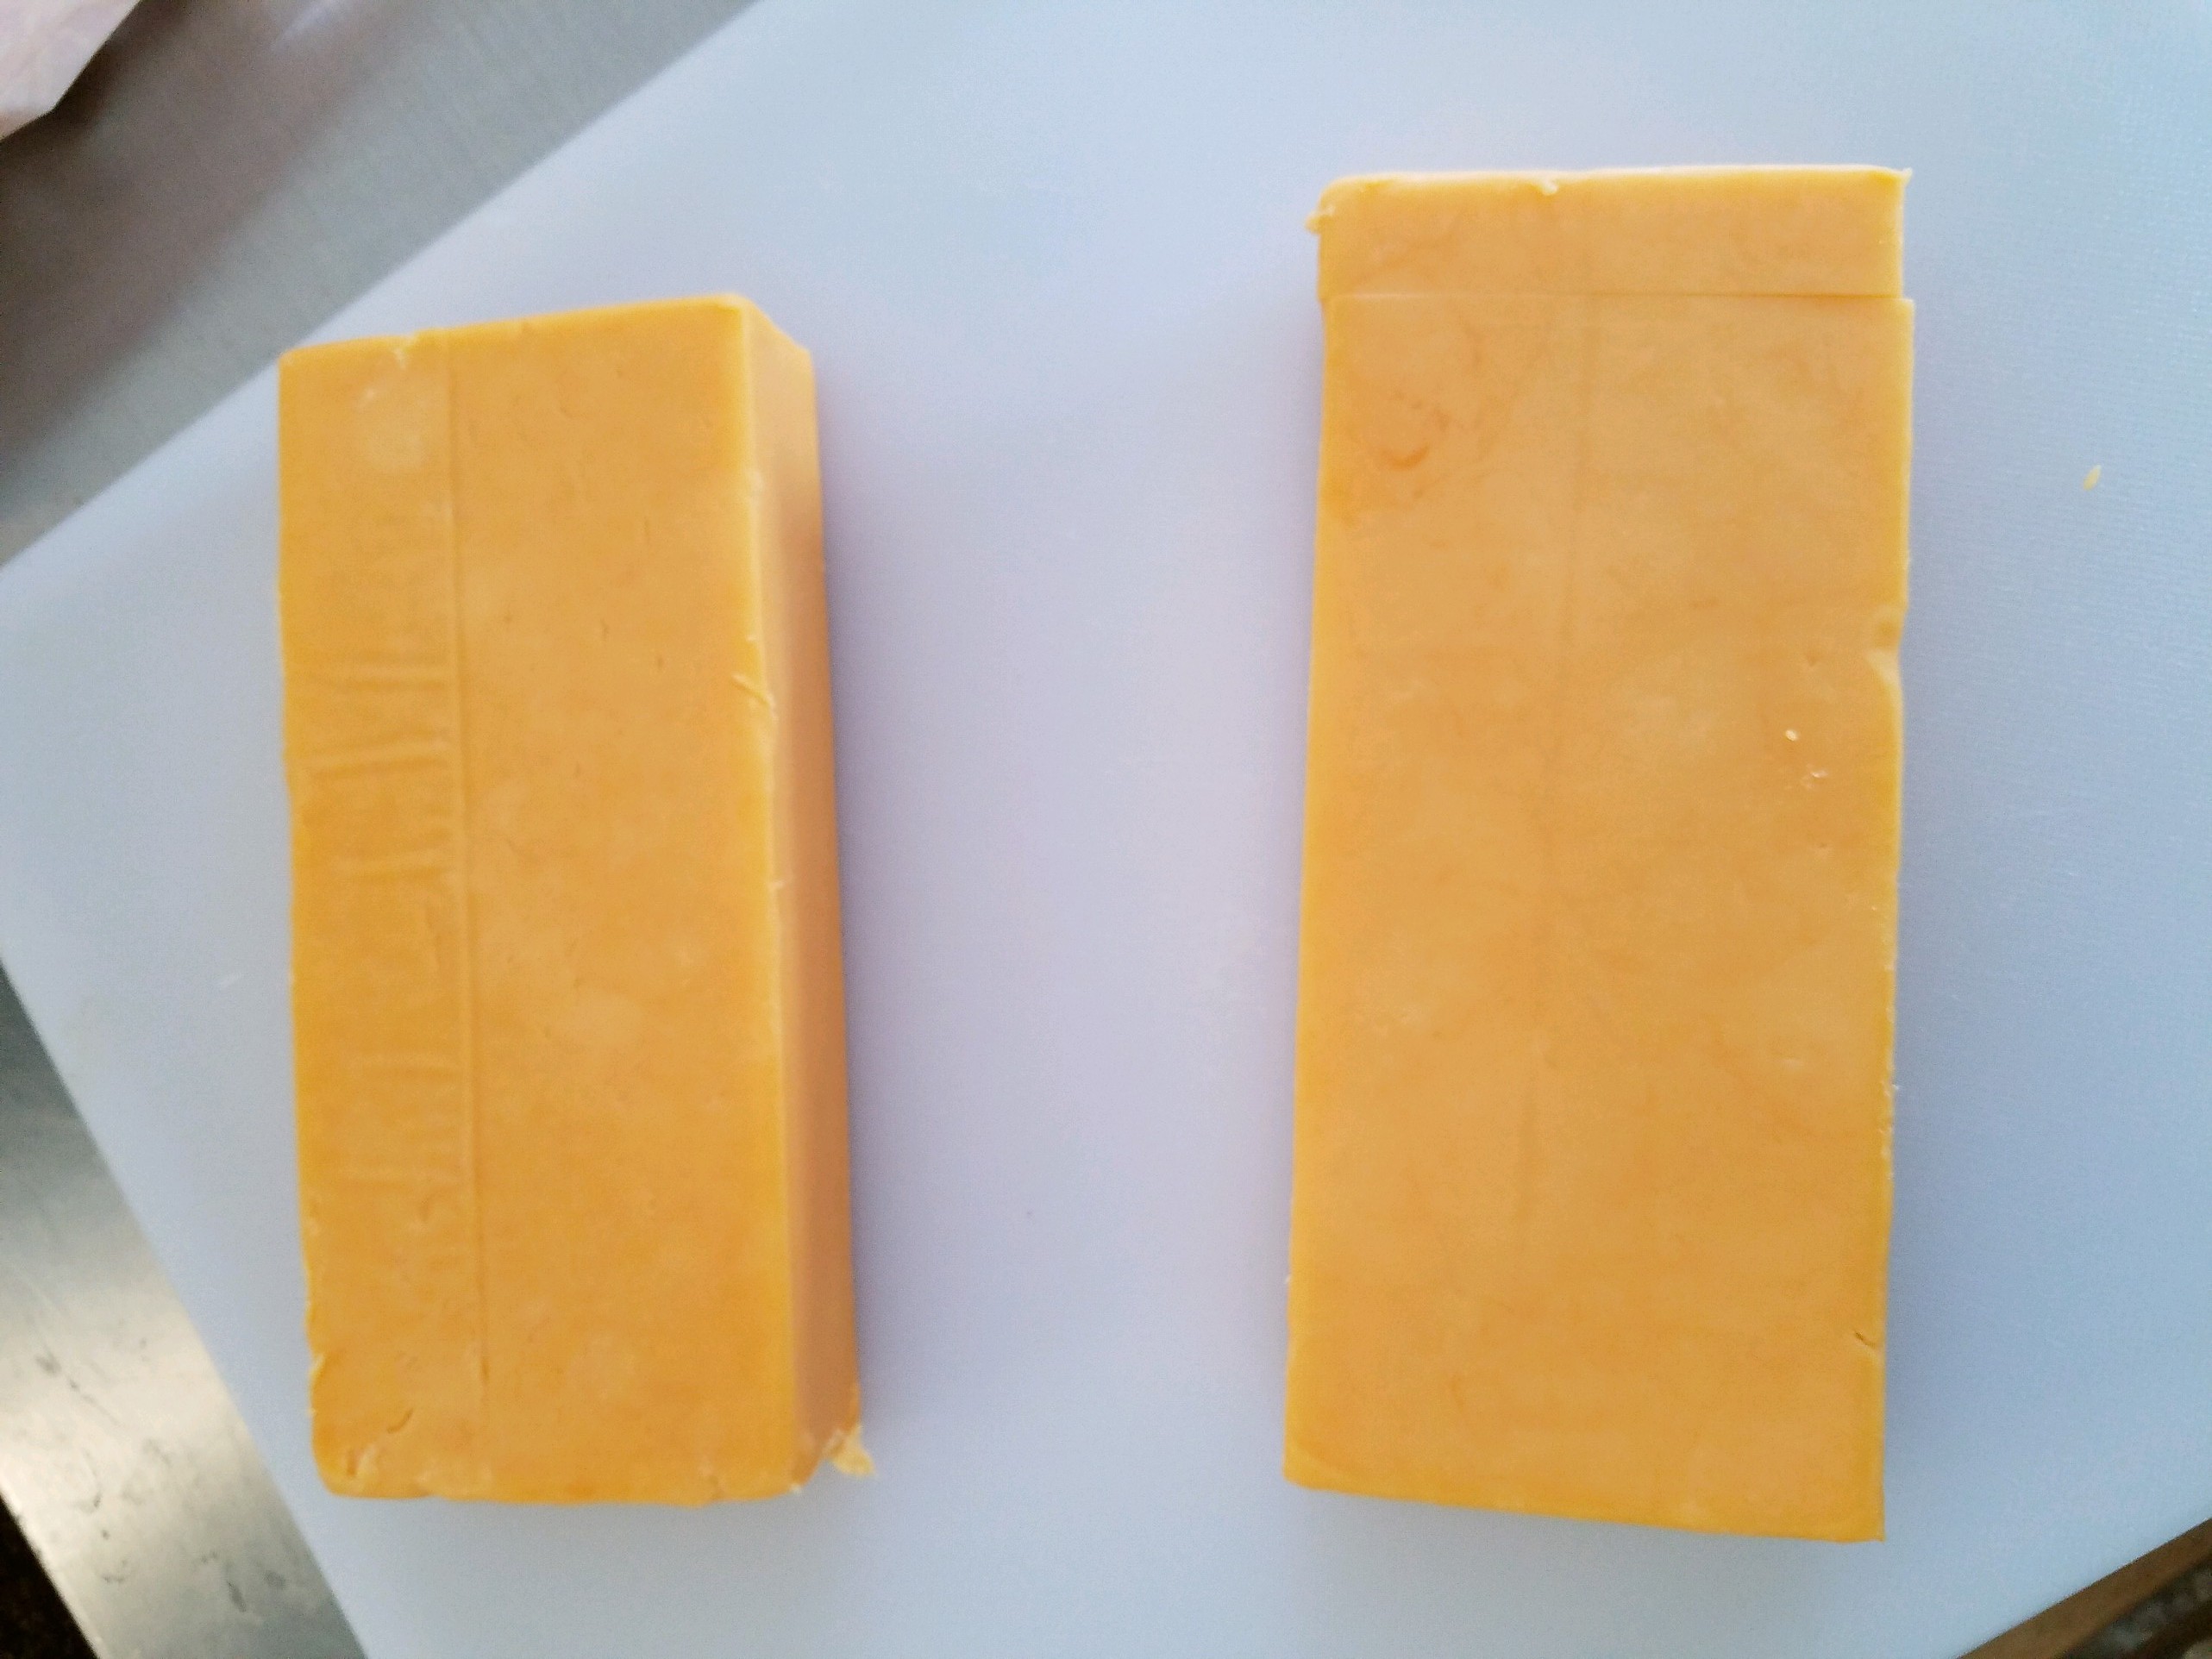
  • 8 oz. mild yellow cheddar cheese
  • 8 oz. sharp cheddar cheese (his was white cheddar, mine was yellow cheddar)
  • 2 large eggs
  • 1 (12 oz.) can evaporated milk
  • 1 T kosher salt
  • 1 T sugar
  • 1 t black pepper
  • 1 (16 oz.) box elbow macaroni
  • 3 T butter (his was unsalted, mine was salted) – plus more for greasing the baking dish
  • 4 C shredded cheddar cheese

Directions:

  • Preheat oven to 350 degrees.
  • Start a large pot of water heating to boil.
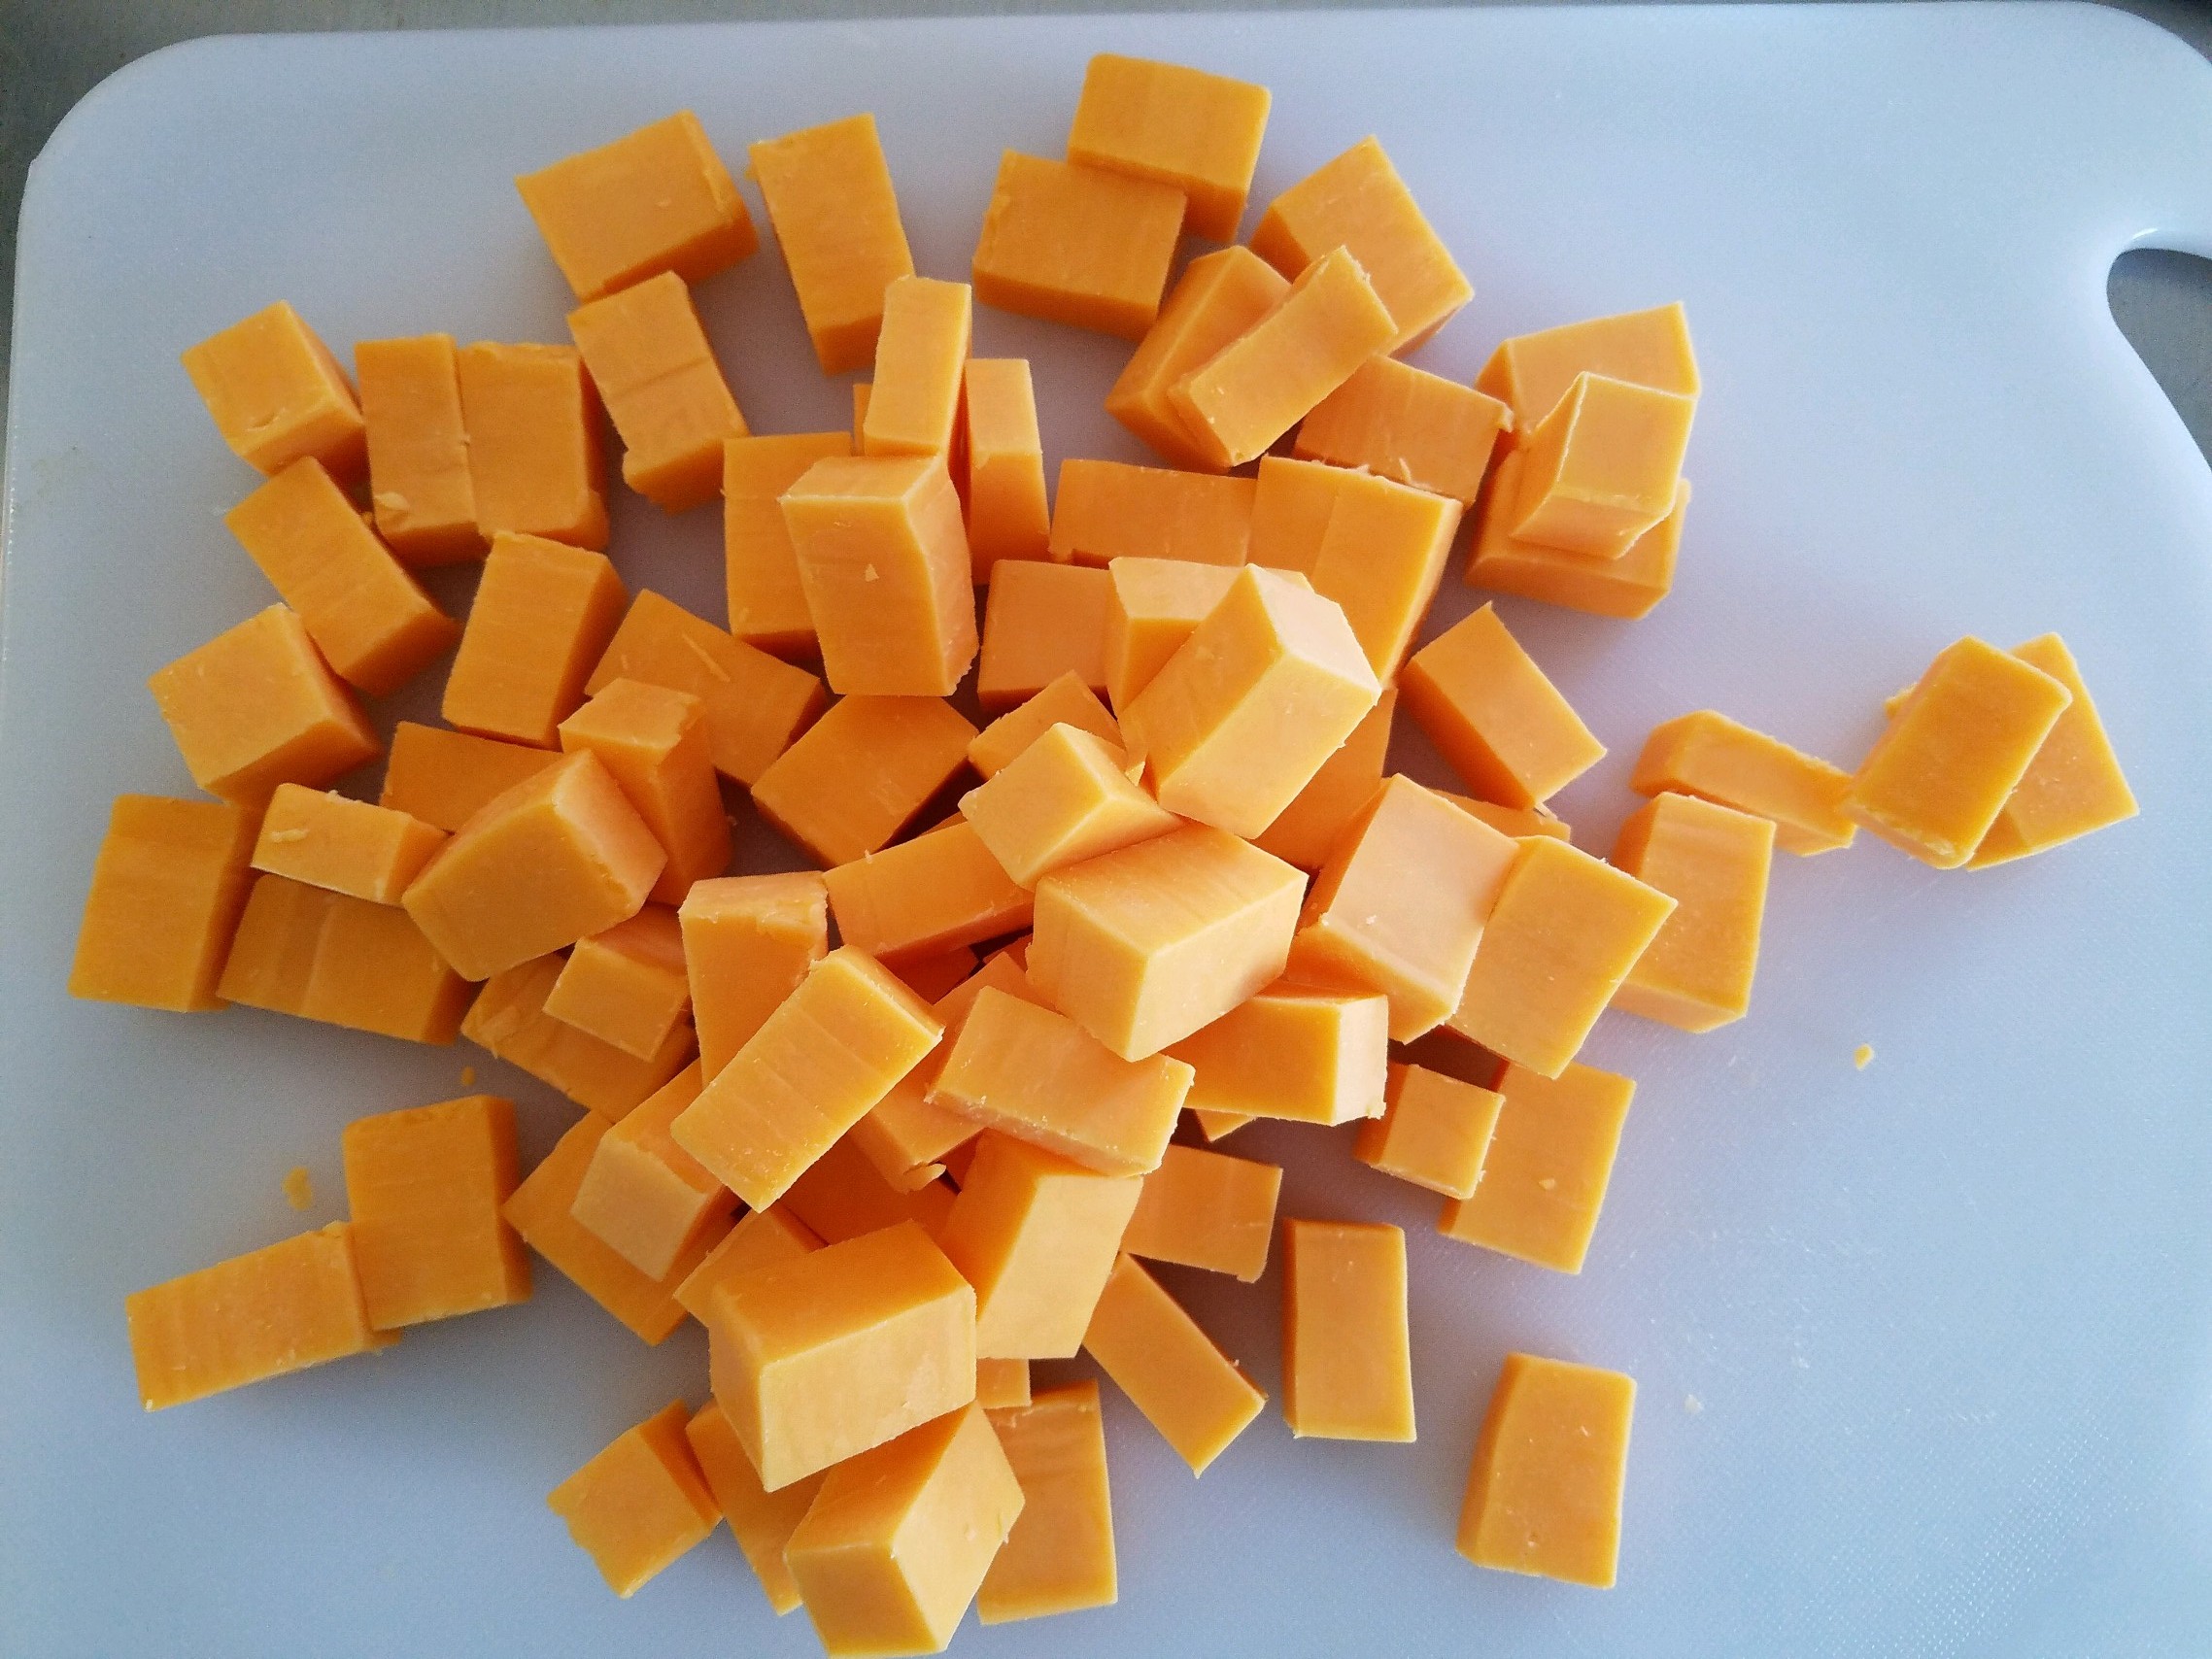
  • Cut cheese bricks into ½” cubes.  (I have no idea how big that is, so I just chunked mine.)
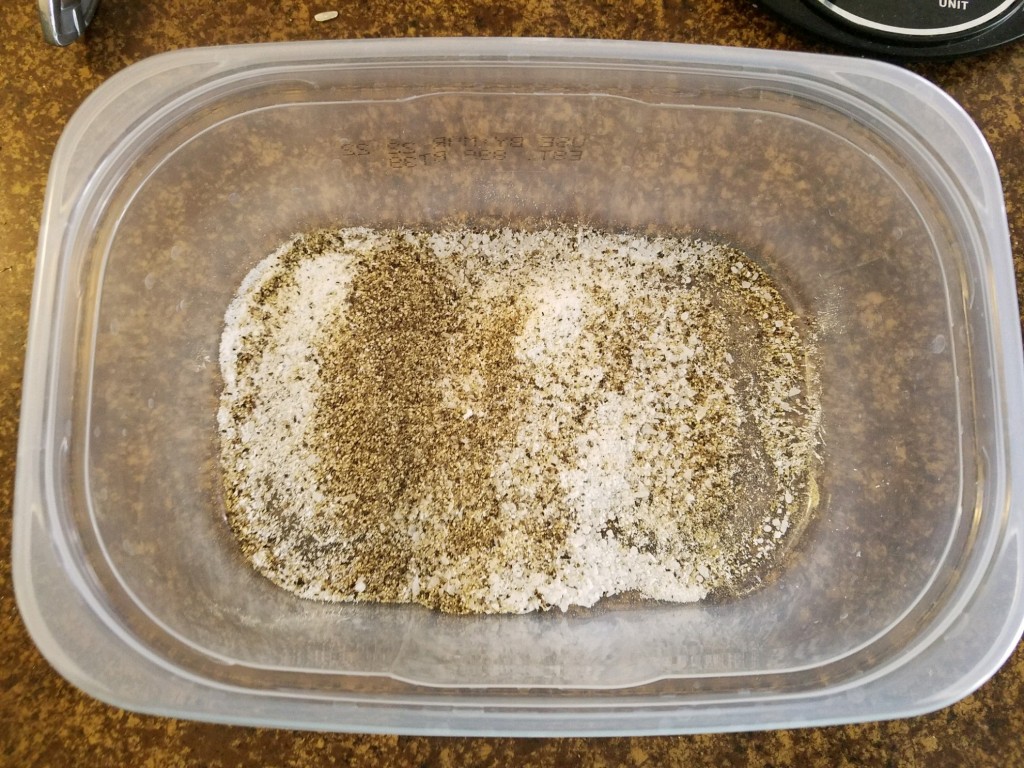
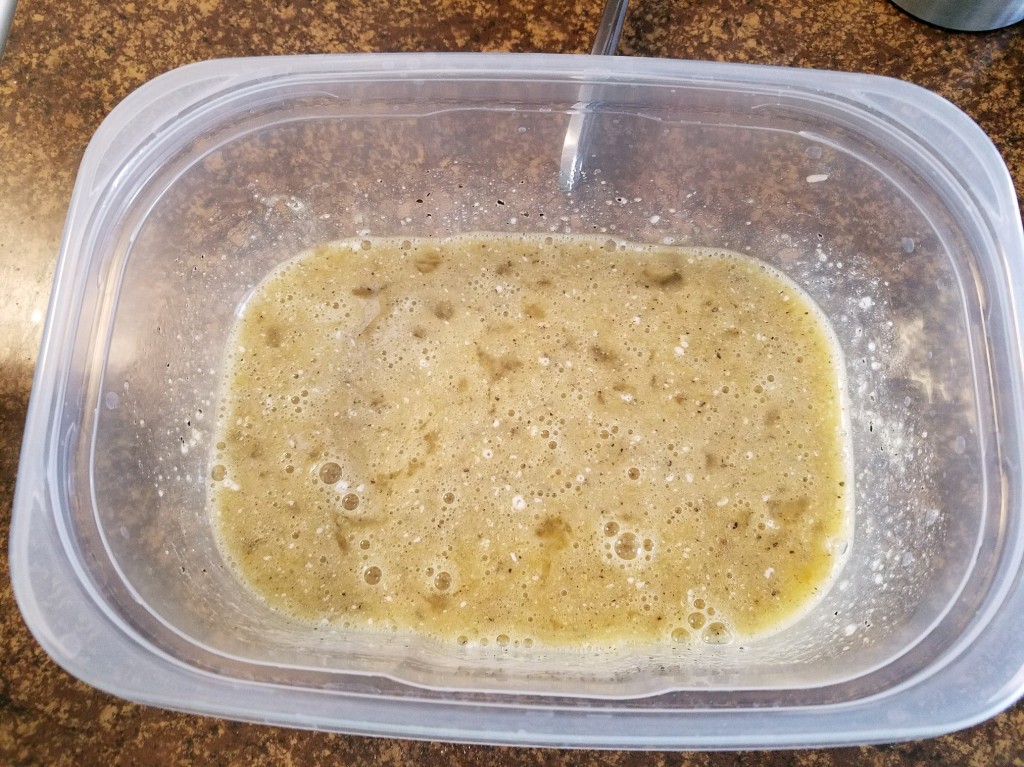
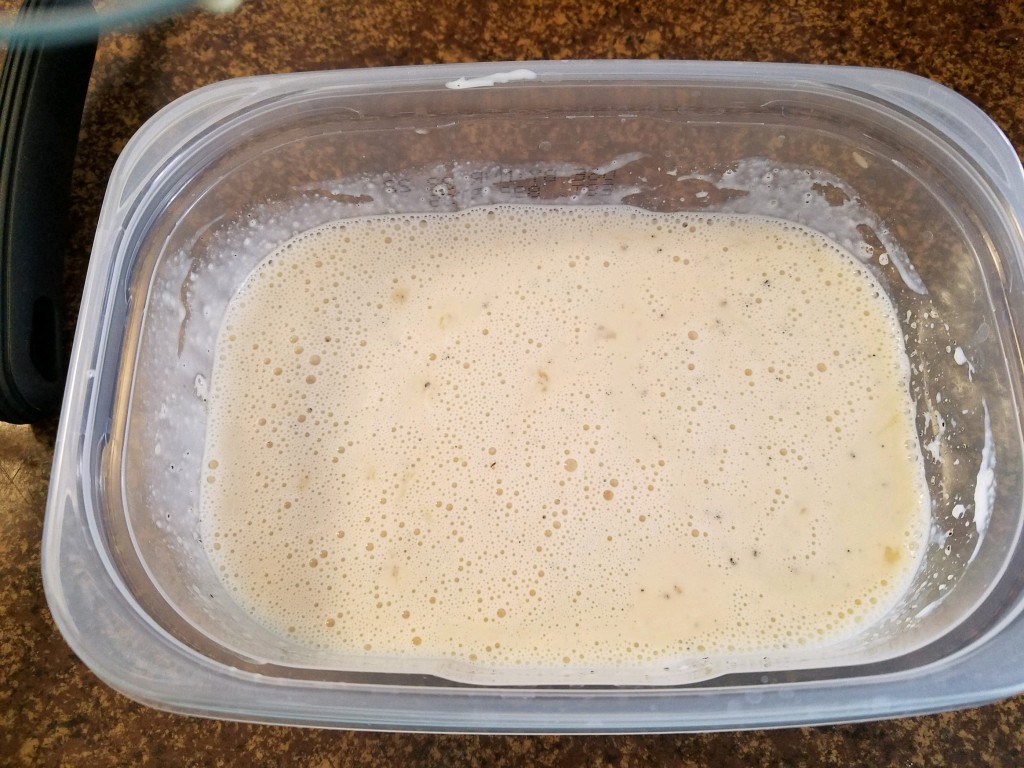
  • In a medium bowl, add eggs, milk, sugar, salt, and pepper–whisk to combine.
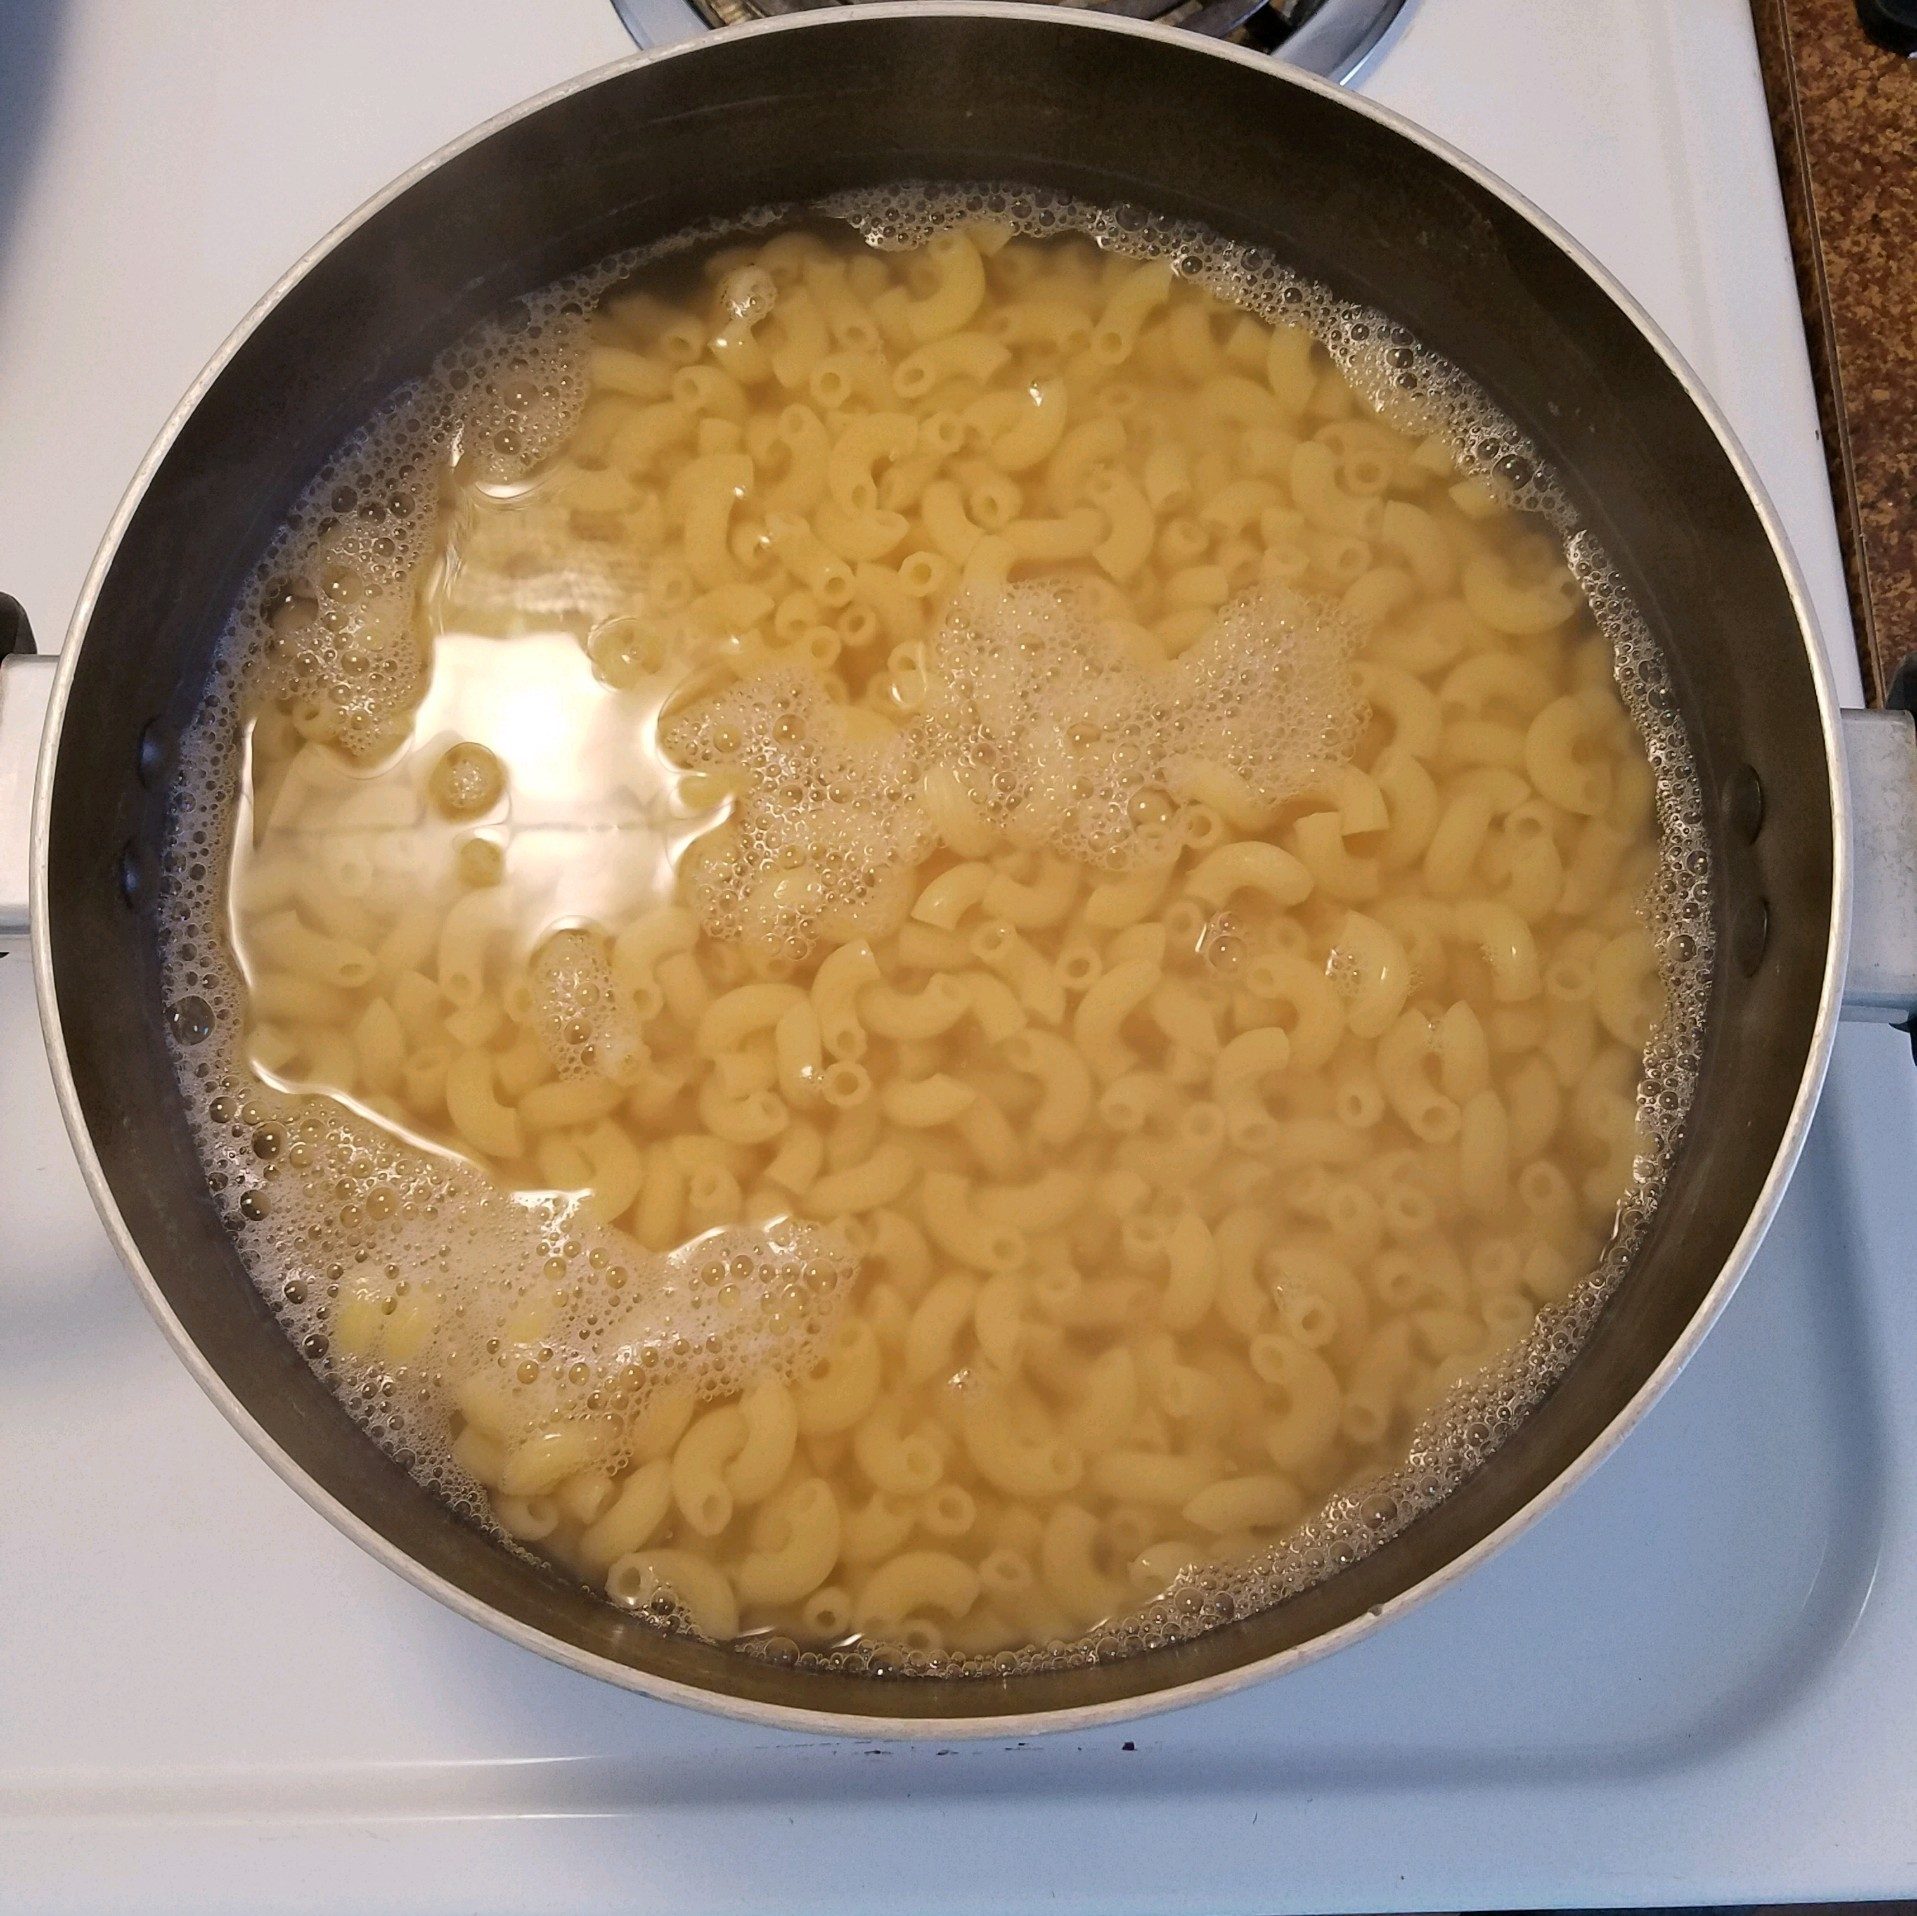
  • When water is boiling, add macaroni and cook for 5–8 minutes. (I cooked mine for 8 minutes.) Turn off the heat and let the macaroni sit in the hot water for 3 minutes until tender. (I gauged 3 minutes while I was doing the other prep work.)
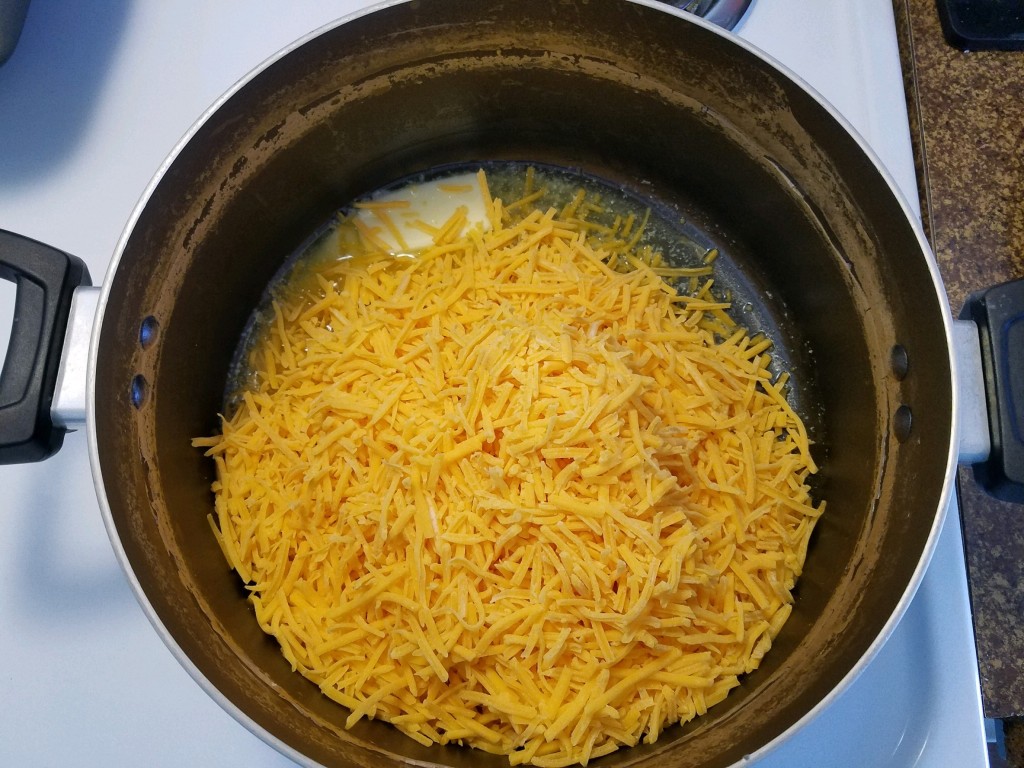
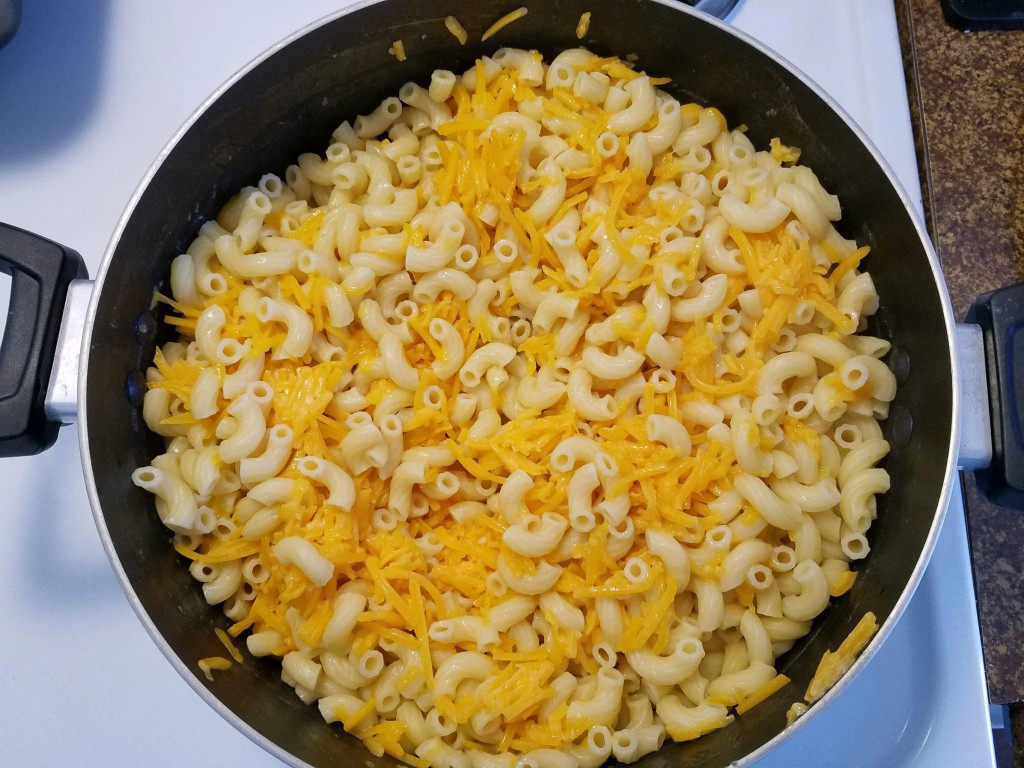
  • Drain the macaroni and return it to the pot. (Here is where I drained the macaroni and then added the butter to the pan and the cheese. Then I re-read that I was supposed to put the macaroni back in the pan already–so I grabbed the macaroni and put it in the pan.)
  • Turn the heat to low, add the butter and the cheese to the macaroni. Stir until butter and cheese are melted.
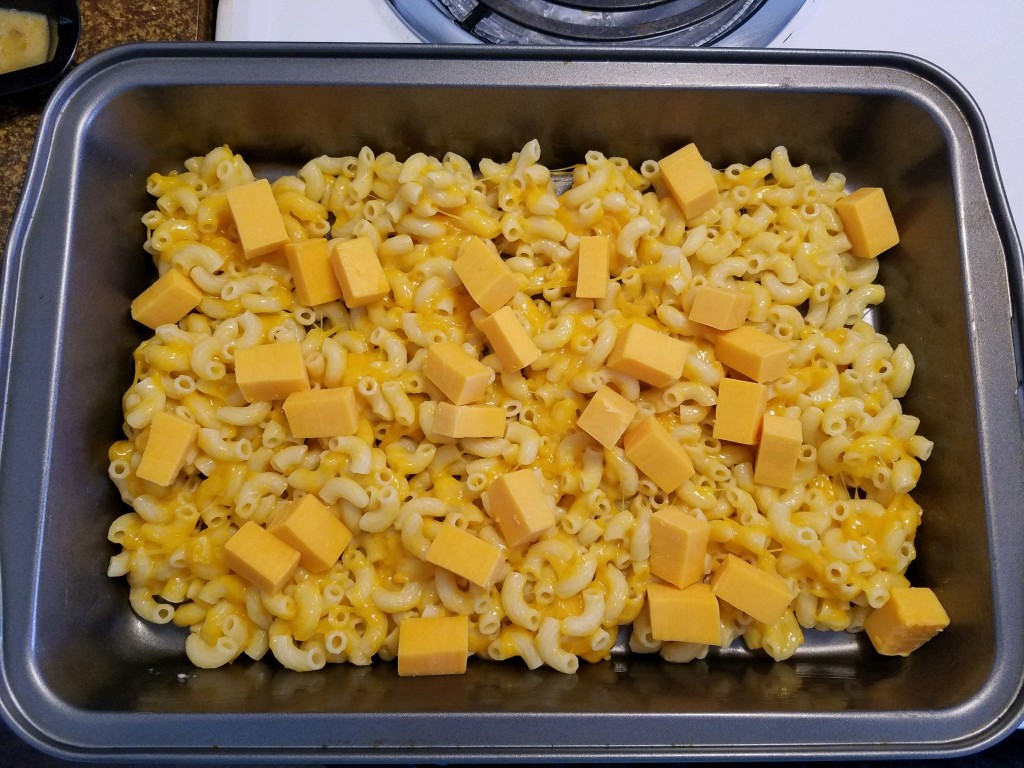
  • Pour the macaroni into the 13 x 9 that you buttered. (Here is where I layered it. I put some macaroni in then added some of the cubed cheese, then added the rest of the macaroni, and then the cubed cheese on top.)
  • Add the egg and milk mixture and cubed cheese. (My cheese was already in there, and I just poured the egg and milk mixture over top). Carefully fold into the macaroni until well combined. (All I did was pour it over the top. I didn’t mix anything).
  • Bake for 25 – 30 minutes ( I did 30 minutes), or until cheese is bubbling and the top of the macaroni is golden brown.

A final note from me is–try and not eat the whole thing in one sitting. YES, I made this for MYSELF. Yes, it is 8 servings. Well, it is supposed to be 8 servings. I’m guessing my serving size is not the same. Let’s not get into that right now, though.  


Leave a comment

Update: Caramel Sauce

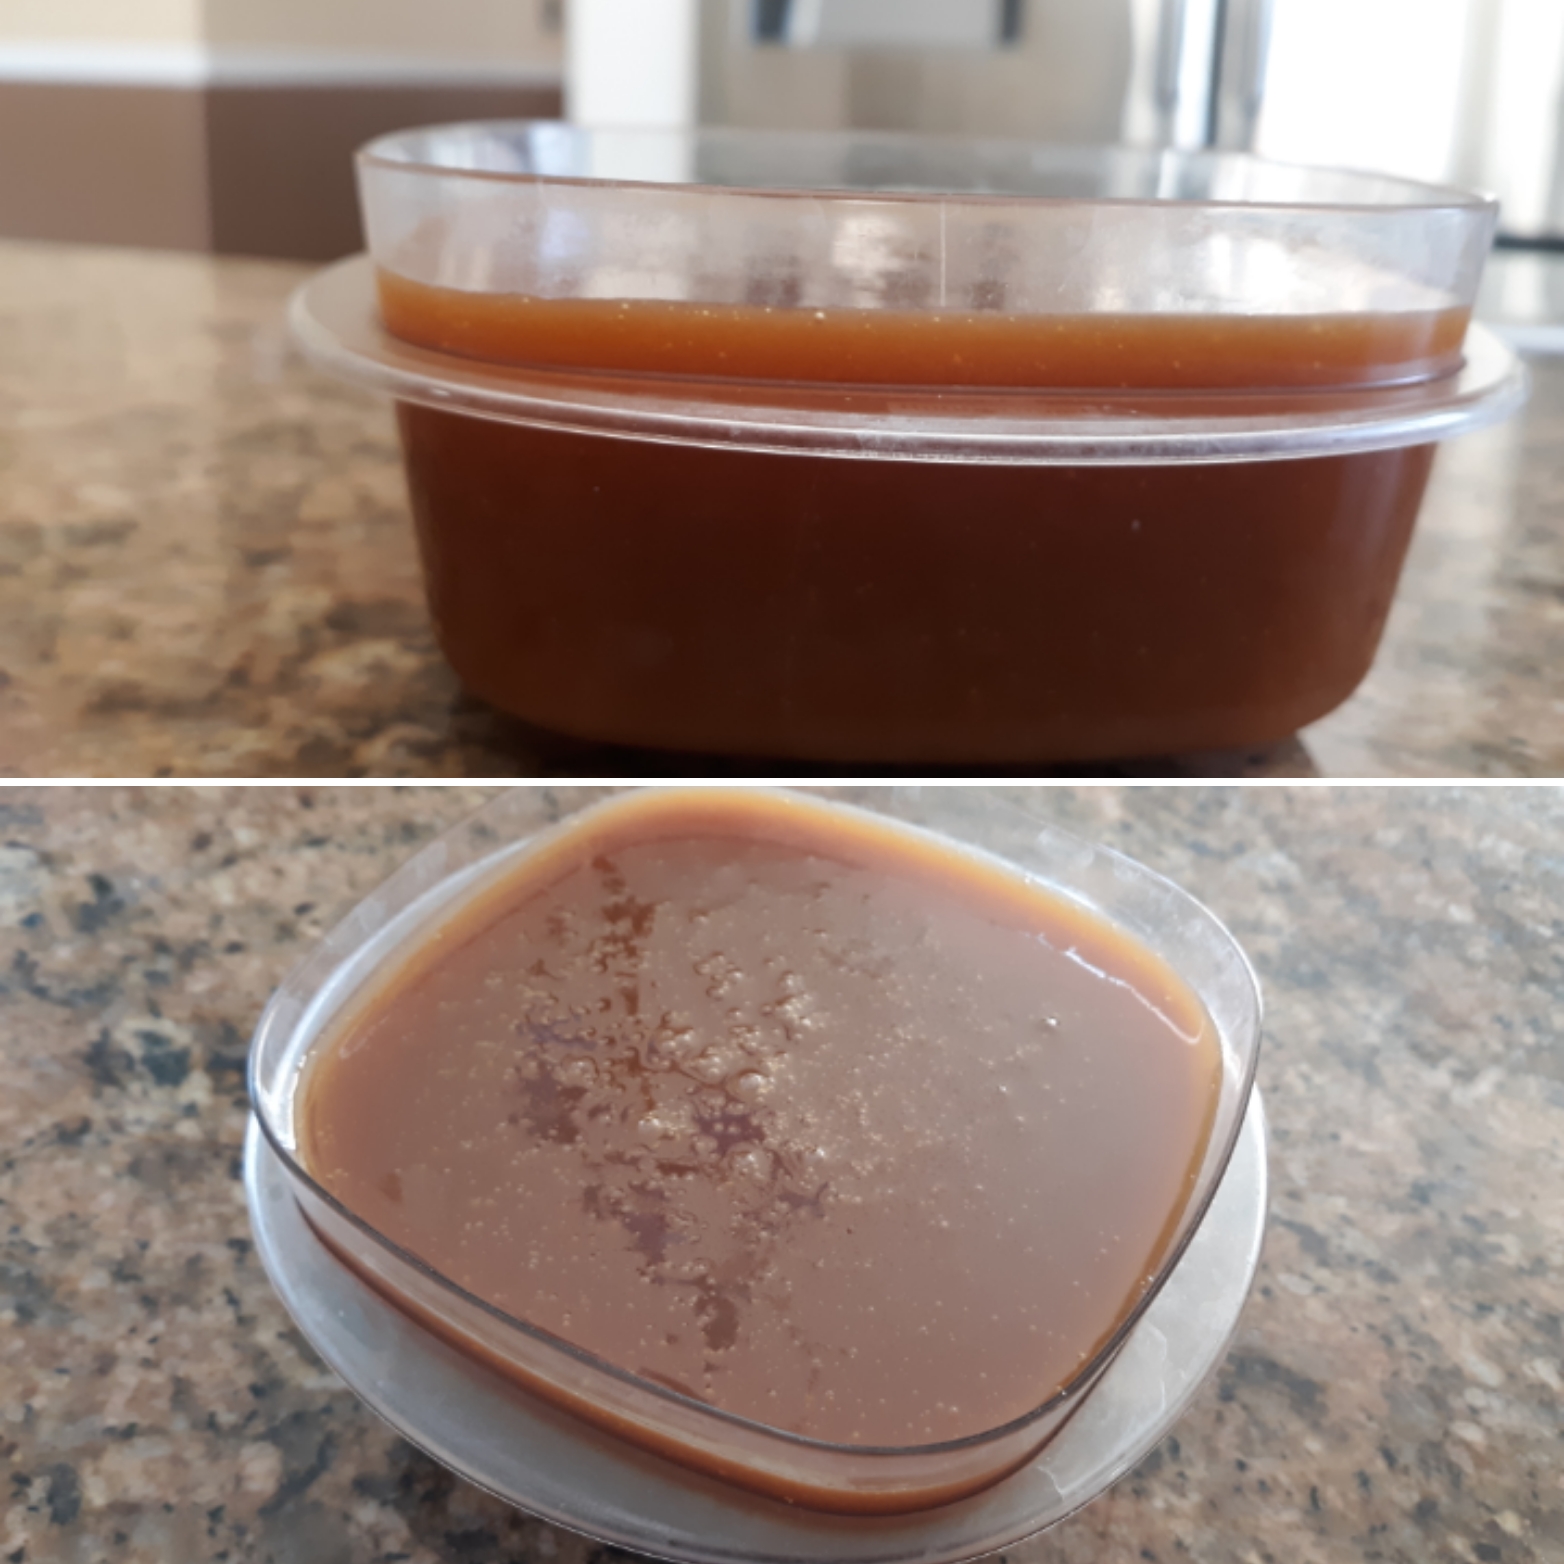
homemade caramel

Just wanted to share with you (and grandma) that I tried it again and succeeded! It’s a lovely golden color and tastes heavenly.

The original attempt at caramel was here: Pinterest Made Me Do It: Maple Caramel Carrot Cake.

cooked caramel

cooked caramel


1 Comment

Pinterest Made Me Do It: Maple Caramel Carrot Cake

So, I have a Pinterest,  and I keep track of my popular pins. One of my popular pins seemingly every week is this Maple Caramel Carrot Cake. There is someone almost every week that is repinning this onto one of their boards. After seeing this month after month, I decided that it was high time that I actually tried making the cake to see how it would turn out. That’s what this post is about.

Here is the recipe from the pin:

INGREDIENTS

Carrot Cake:

  • 2 cups all-purpose flour
  • 2 tsp baking powder
  • 1/4 tsp baking soda
  • 3/4 tsp salt
  • 1 1/2 tsp ground cinnamon
  • 3/4 tsp ground nutmeg
  • 1/2 tsp ground ginger
  • pinch ground cloves
  • 1 1/4 cup vegetable oil
  • 1 cup dark brown sugar
  • 1 cup granulated sugar
  • 4 large eggs room temperature
  • 1 1/2 tsp vanilla
  • 3 cups grated carrots lightly packed, approx. 4 large carrots

Maple Caramel:

  • 1 cup pure maple syrup
  • 1/2 cup heavy cream
  • 1 Tbsp unsalted butter

Cream Cheese Frosting:

  • 2/3 cup unsalted butter room temperature
  • 4 oz cream cheese full fat, room temperature
  • 2 cups powdered sugar sifted
  • 1 tsp vanilla

Assembly:

  • 4 Tbsp pure maple syrup
  • 1/4 cup pecans chopped, toasted

I went to the store and picked up the ingredients (well, almost all of them — we’ll get to that)

I started by assembling the dry ingredients:


As you can see instead of cinnamon, nutmeg, ginger, and cloves, I only have one bottle — pumpkin pie spice. Surprisingly, those are the ingredients for pumpkin pie spice. So, one bottle will do! I did need to worry about how much to put in though. I was thinking of calling my sister because she is good at all that figuring. Me? Not so much. I decided to just wing it. Instead of putting all figures into some calculation, I put in 2 T of pumpkin pie spice.

The picture above right is all the dry ingredients in the mixing bowls getting ready to be whisked together.

Now onto the wet ingredients.
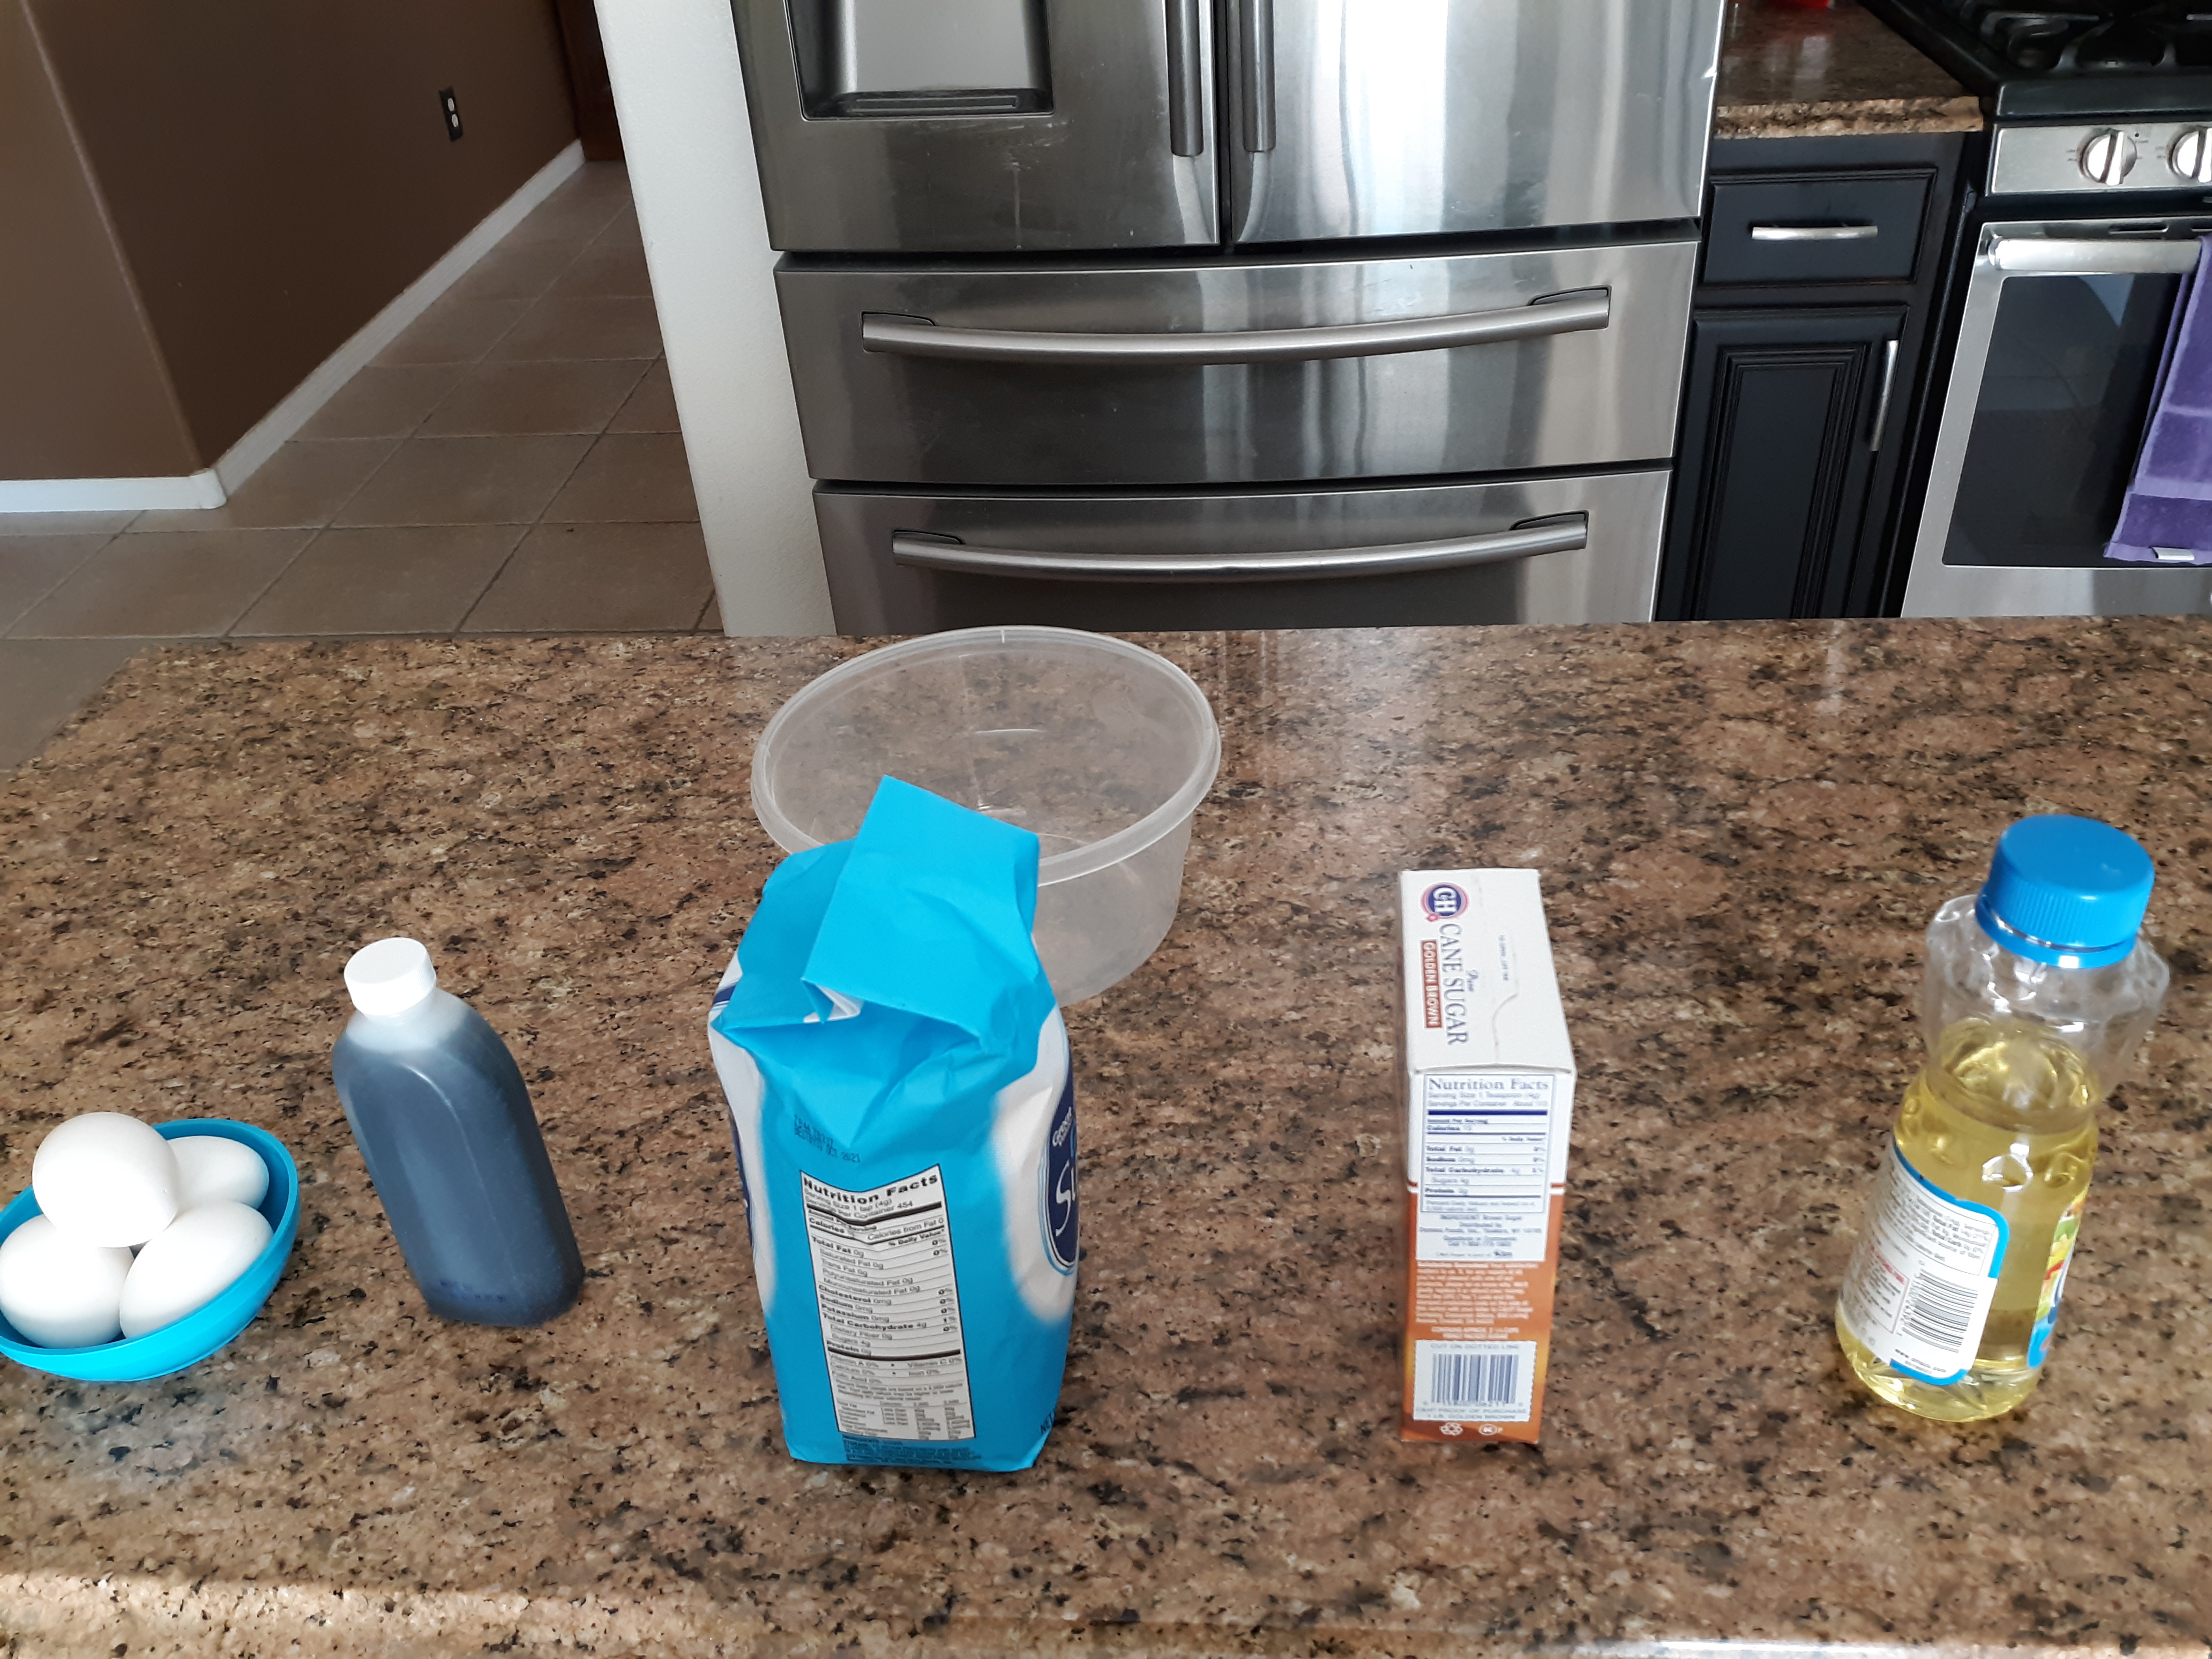
Eggs, vanilla, white sugar, brown sugar, vegetable oil

Eggs, vanilla, white sugar, brown sugar, vegetable oil

Here are all the wet ingredients assembled together. I kind of cheated in this picture because I have the “good – picture ready” brown sugar instead of the gnarly hard as a rock little bag of dark brown sugar that I used. I put the brown sugar in a microwave safe container and placed a damp paper towel on it, then zapped it in the microwave for 20 seconds to re-soften it. It had lumps, so I put the hard-ish lumps in with some of the oil and white sugar into a Magic Bullet® mixer, tossed in the eggs, and whipped the lumps out.
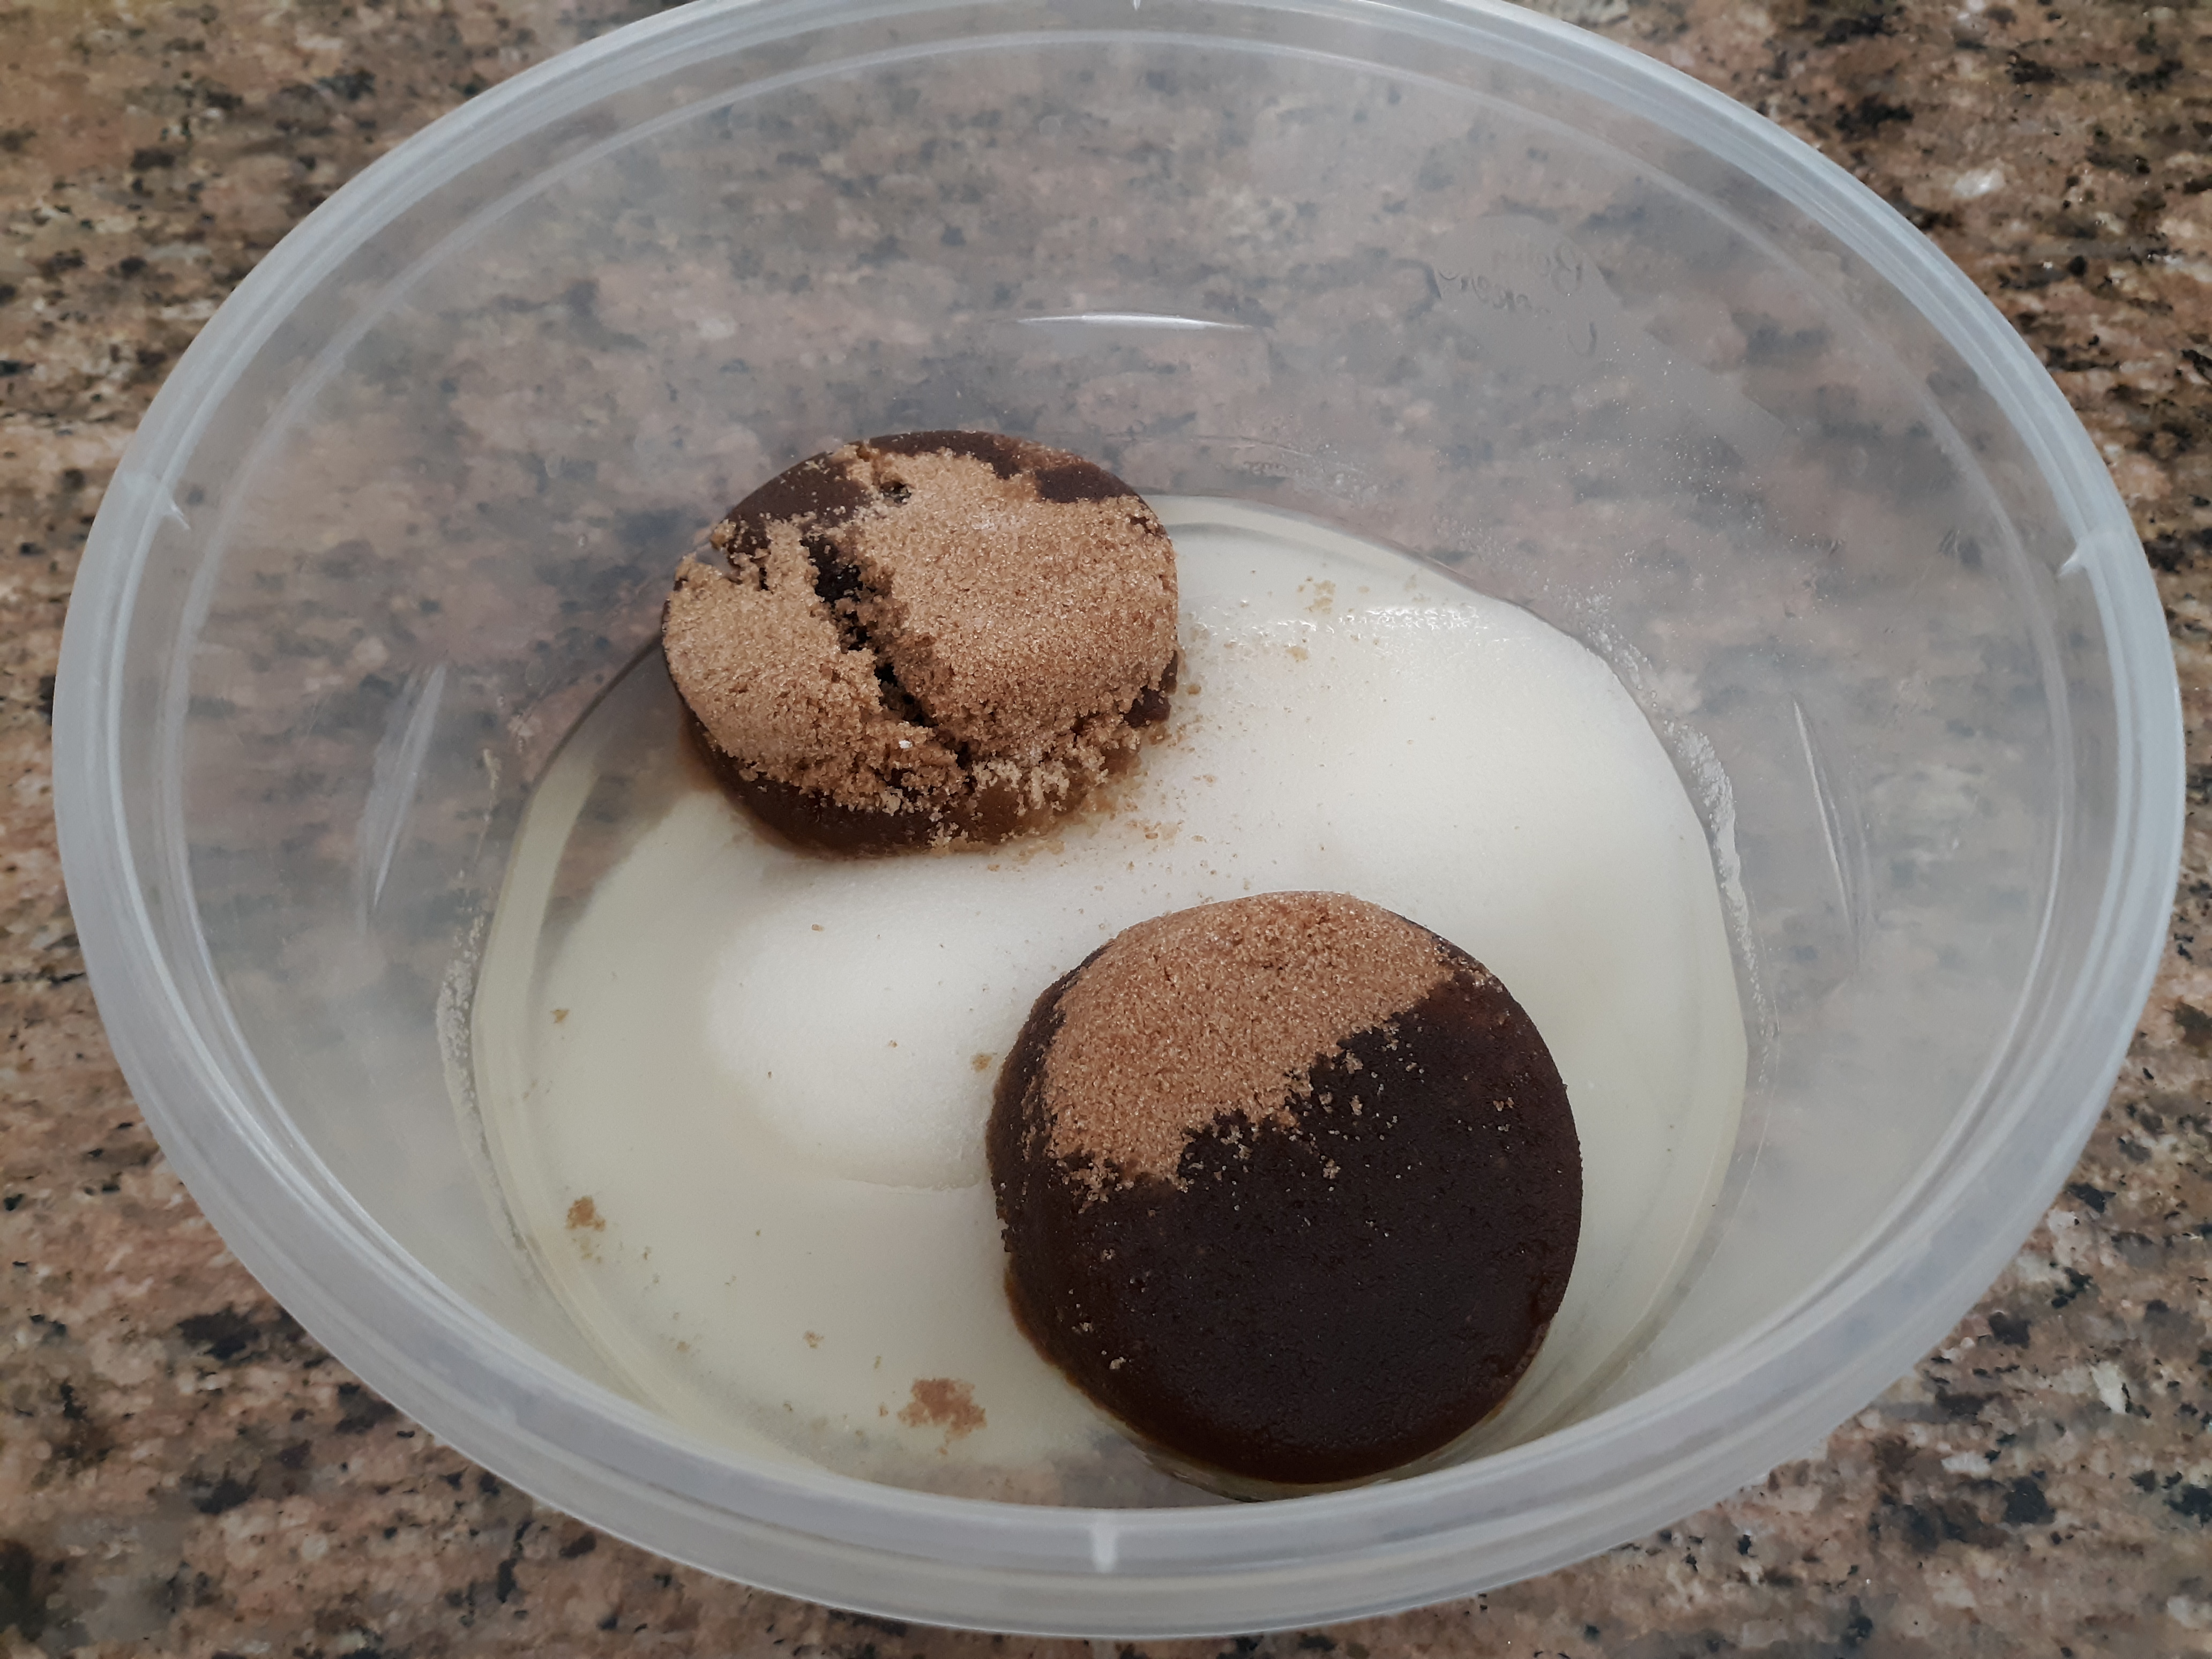
Wet ingredients in the bowl

Wet ingredients in the bowl

Here are the wet ingredients assembled in another bowl. (This was before the lumps were scooped out and Bulleted away.) I tried to mix this by hand, but the lumps were getting on my nerves. They needed to go. At this point, I had not actually preheated the oven yet, so I did. I wasn’t sure how long all my assembly was going to take and it’s hot here, so I was going to turn the oven on as late as possible.

Now comes assembly time! I purchased already shredded carrots to make sure there were no shredded fingers in the cake with the shredded carrots. See how nice the wet ingredients look? Magic Bullet®.
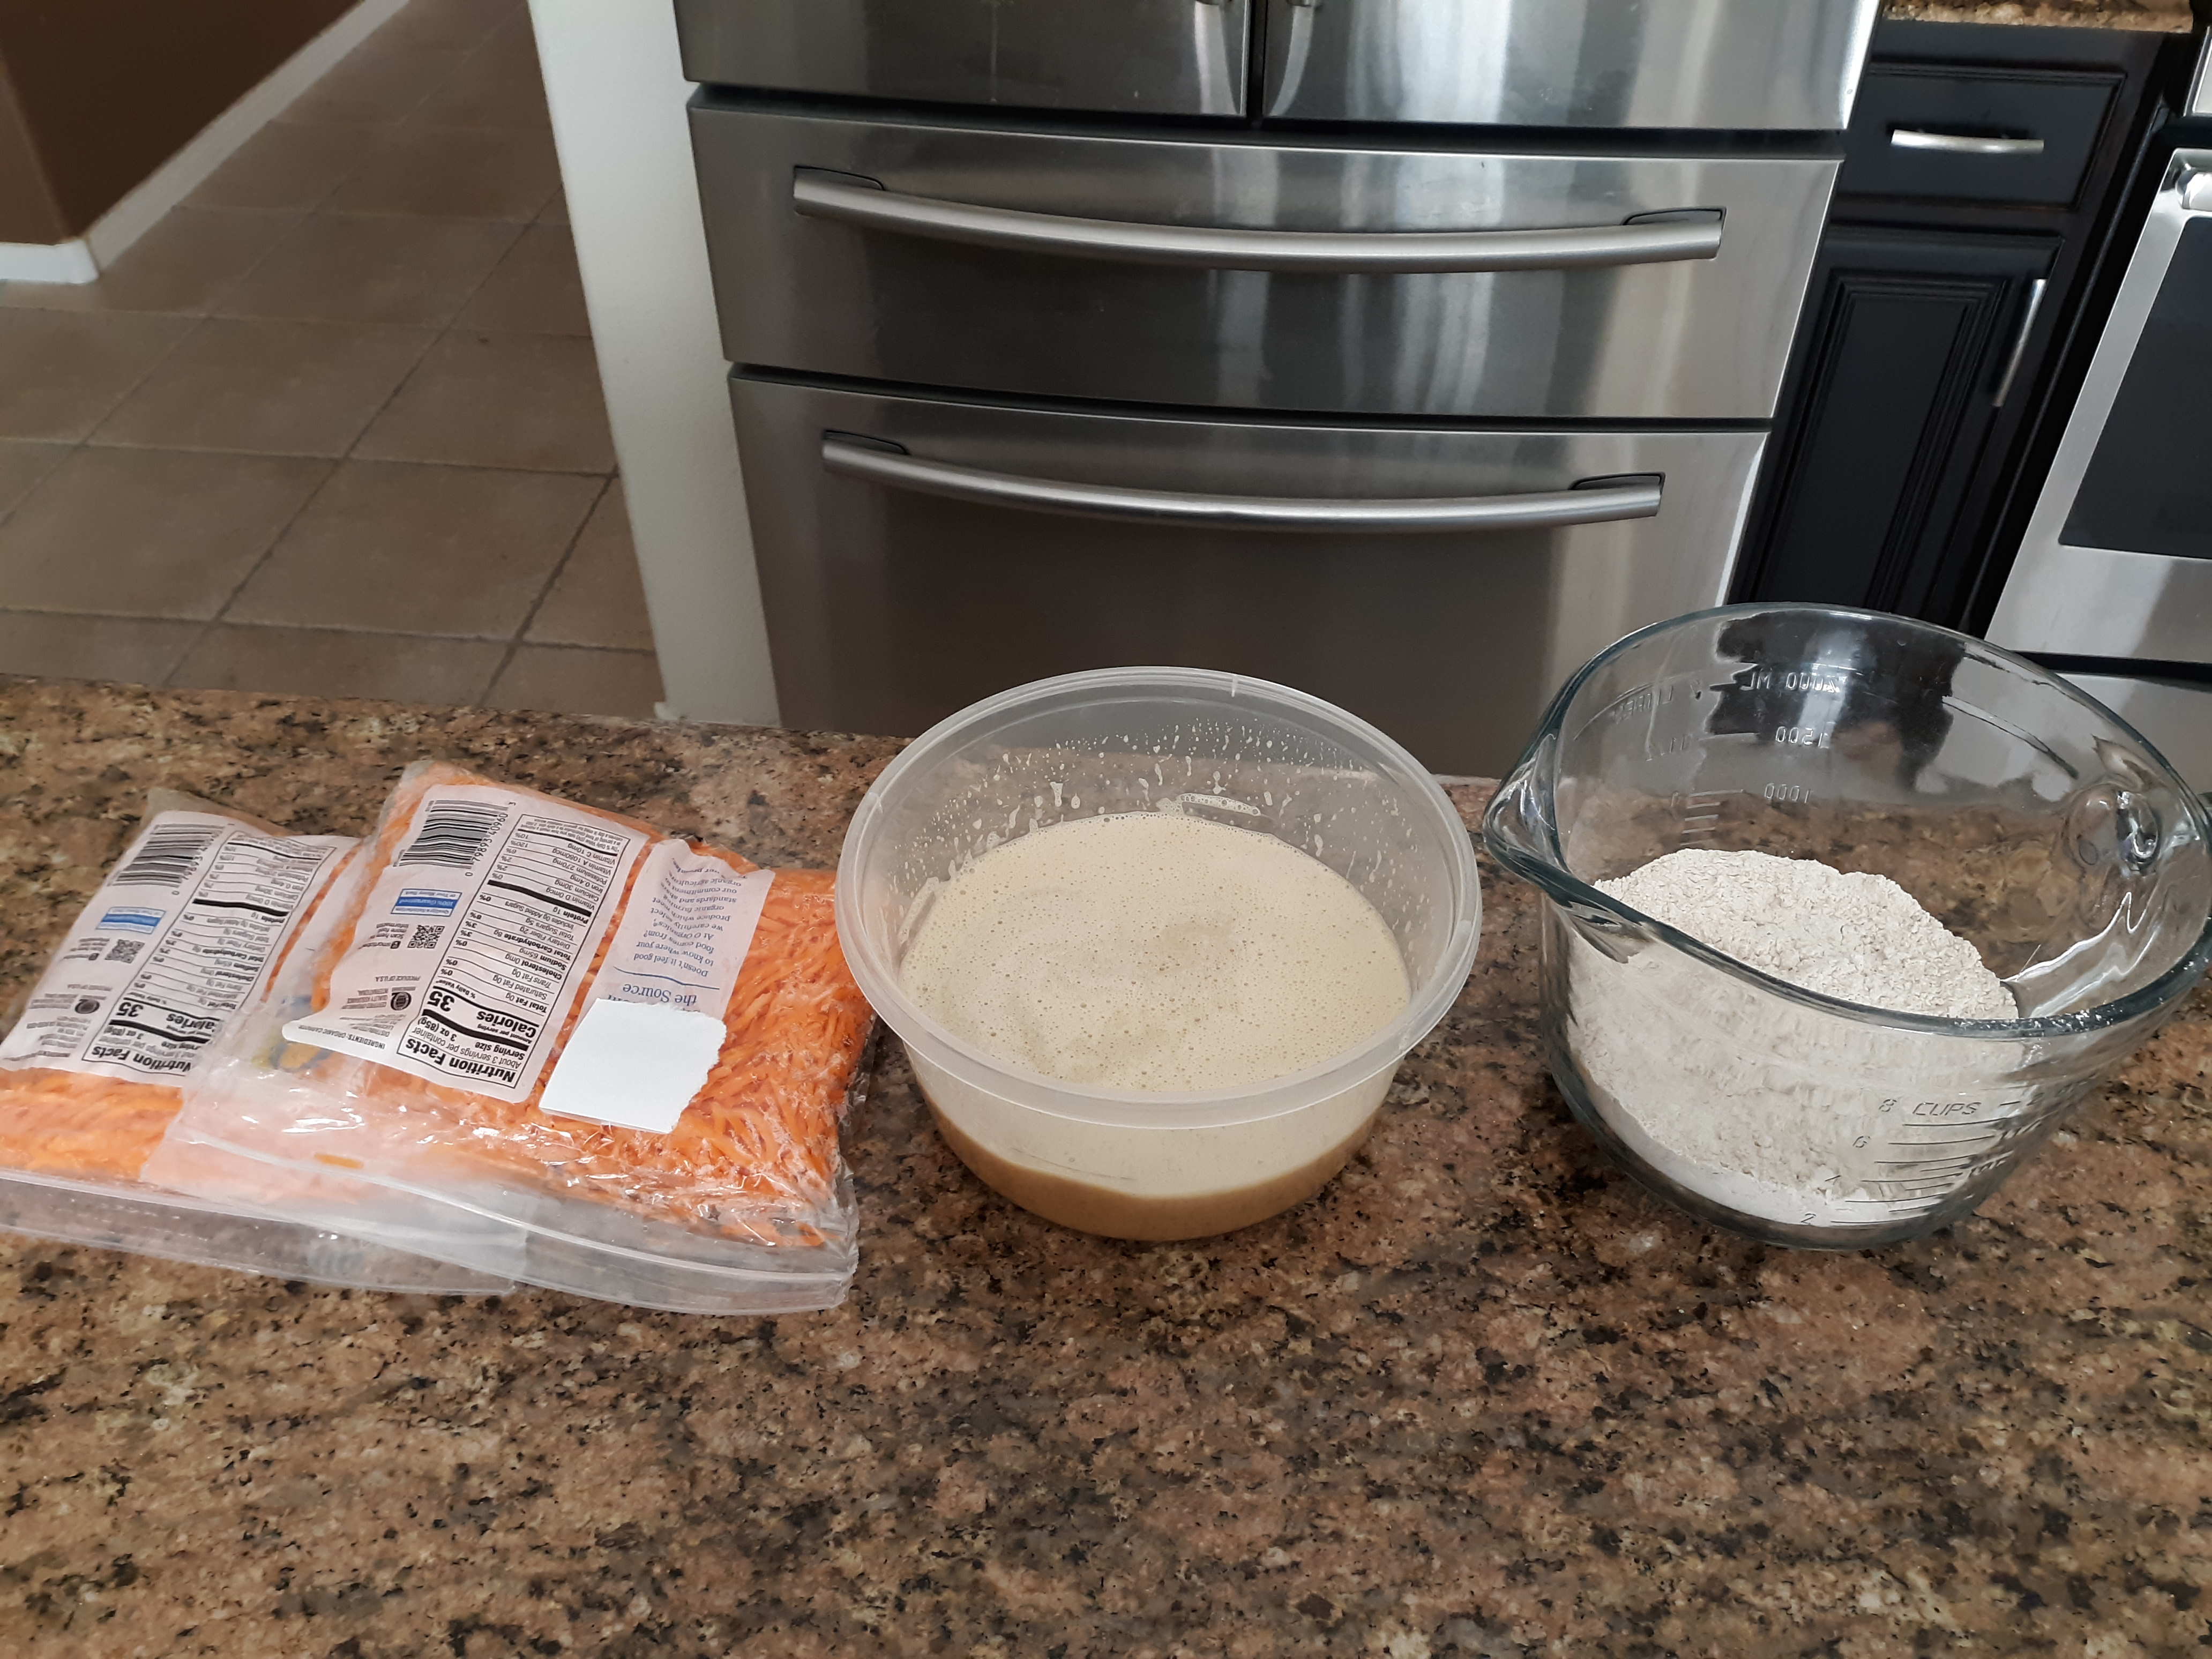
wet ingredients, dry ingredients, shredded carrots

wet ingredients, dry ingredients, shredded carrots

I ended up buying too many carrots. I am not good at eyeballing how much I need. I used one bag for this cake.

carrot cake batter poured into pans

carrot cake batter poured into pans

Here is the carrot cake batter poured into pans. What pans did I use?  I used foil throw away pans that were under $2 for 3 at the store. I greased and floured the pans and used a cookie sheet under it because I wasn’t sure if it was going to cook over, or if the pans would get weird because they were foil. They were fine: I didn’t actually need the cookie sheet. In the oven they go. Now onto the caramel.

Okay, I’m a dork and I used to go to the Geauga County Maple Festival in Chardon, BUT I wasn’t interested in buying REAL maple syrup because it’s expensive, and I have no use for it after this recipe. I picked up some cheap not so maple pancake syrup from the store. Then began to fret because it wouldn’t get thick and sit right on the cake. So, I looked up a caramel recipe instead and made that.


This is a cup of sugar and 1/3 c of water in a saucepan. The idea is to NOT STIR this and put it on medium heat until the sugar melts and it gets all bubbly good. To stop the sauce from cooking, you pour in 2/3 cup heavy cream.


As the old cartoons would say, “Fricka Fraka Bricka Bracka” Why can’t I open this damn thing normally. It reminded me of the nightmare at lunch trying to get the little carton of milk open without spilling it all over the place. I gave up after trying the one side and just ripped the whole top open. Think you’re going to show me up Mr. Heavy Cream! Oh, and I didn’t need the whole amount for this recipe. What’s a girl to do?   Well, a handy dandy chip clip will close that right up for ya! I ended up pouring that into a cup of coffee I made.


At this juncture, I can hear my grandmother sighing. “Girl, you have no patience! You needed to heat that longer so it would actually brown. It’s too light. It doesn’t look like the picture.”

Oh well.

I finished that with the heavy cream and 2 T of butter then called it done. Oh, and for good measure, I threw in some pancake syrup in case there was even a hint of some kind of maple in there.

So, it’s light. It’s still tasty. Now it is frosting time!
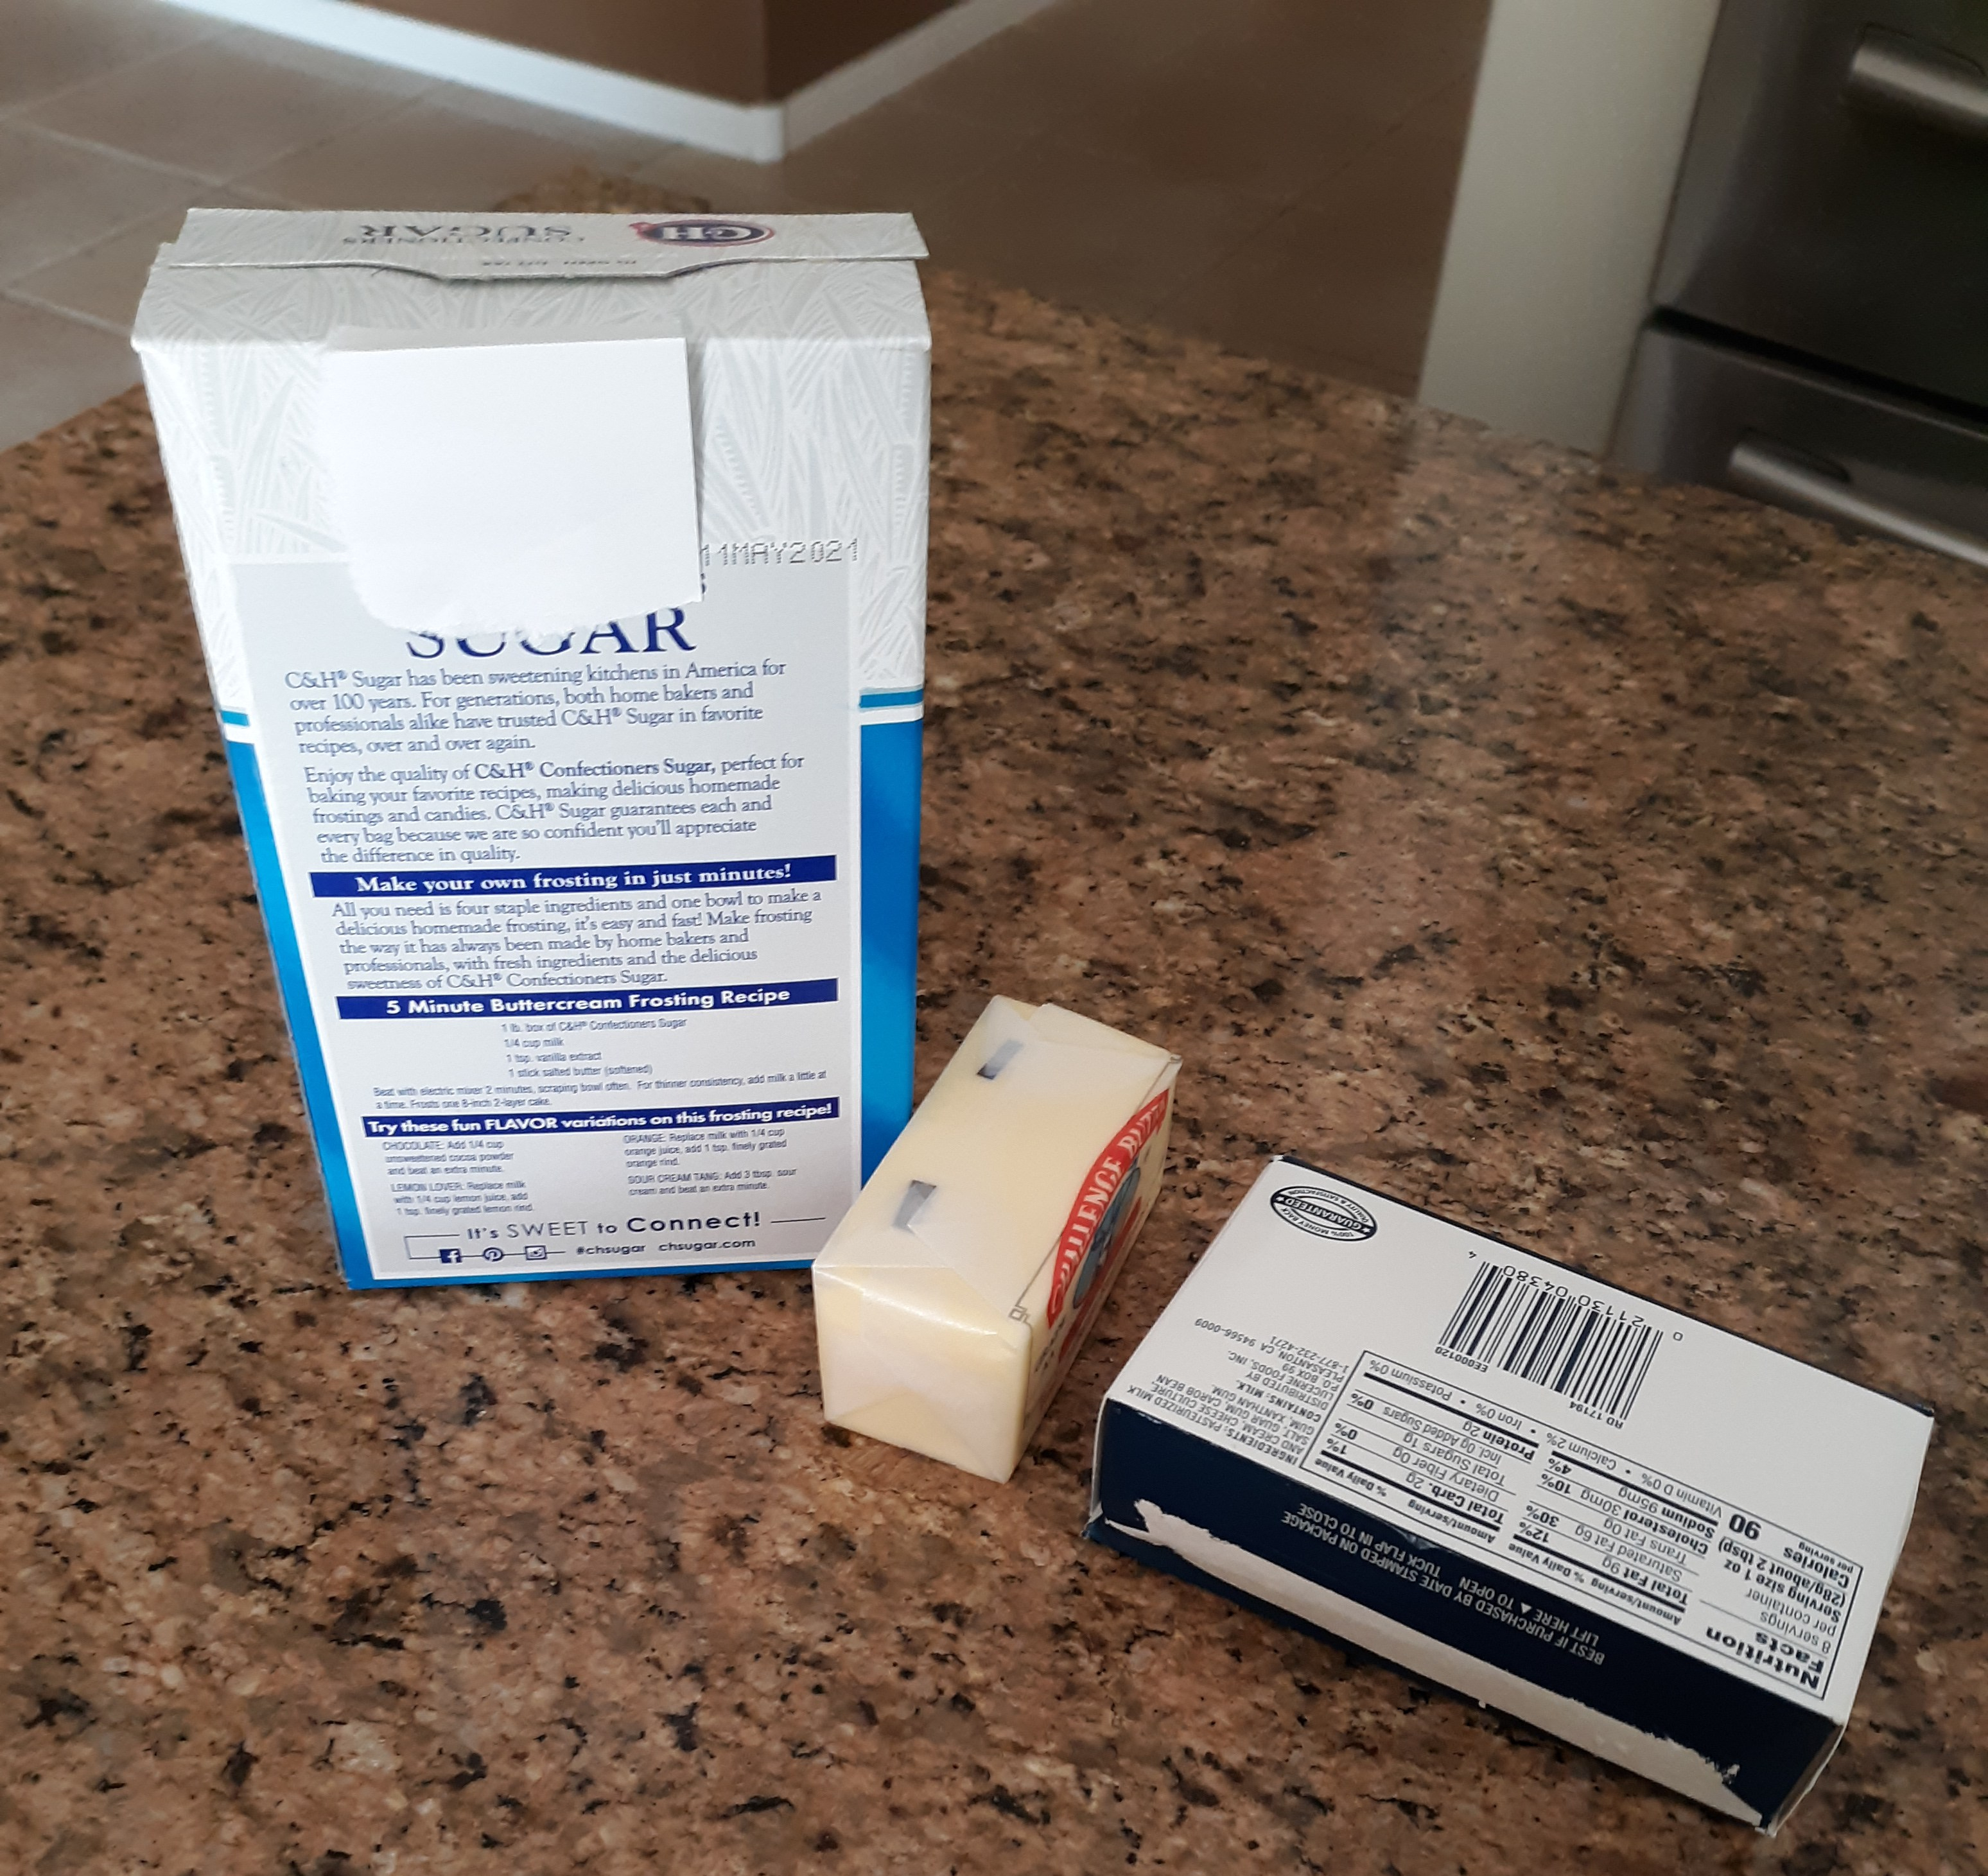
powdered sugar, butter, cream cheese

powdered sugar, butter, cream cheese

The frosting is simply powdered sugar, butter, and cream cheese. Yum! Apparently, I didn’t think it was important to take a picture of the frosting. Just picture a small round bowl with white delicious cream cheese frosting in it. Time to take the cake out!

sun photo

sun photo


The carrot cake looks lovely (better than that seasoned cookie sheet), and I let these sit in the pan for 10 minutes before I put them on plates to finish cooling. This had to happen in the fridge because, as stated earlier, it’s hot here.
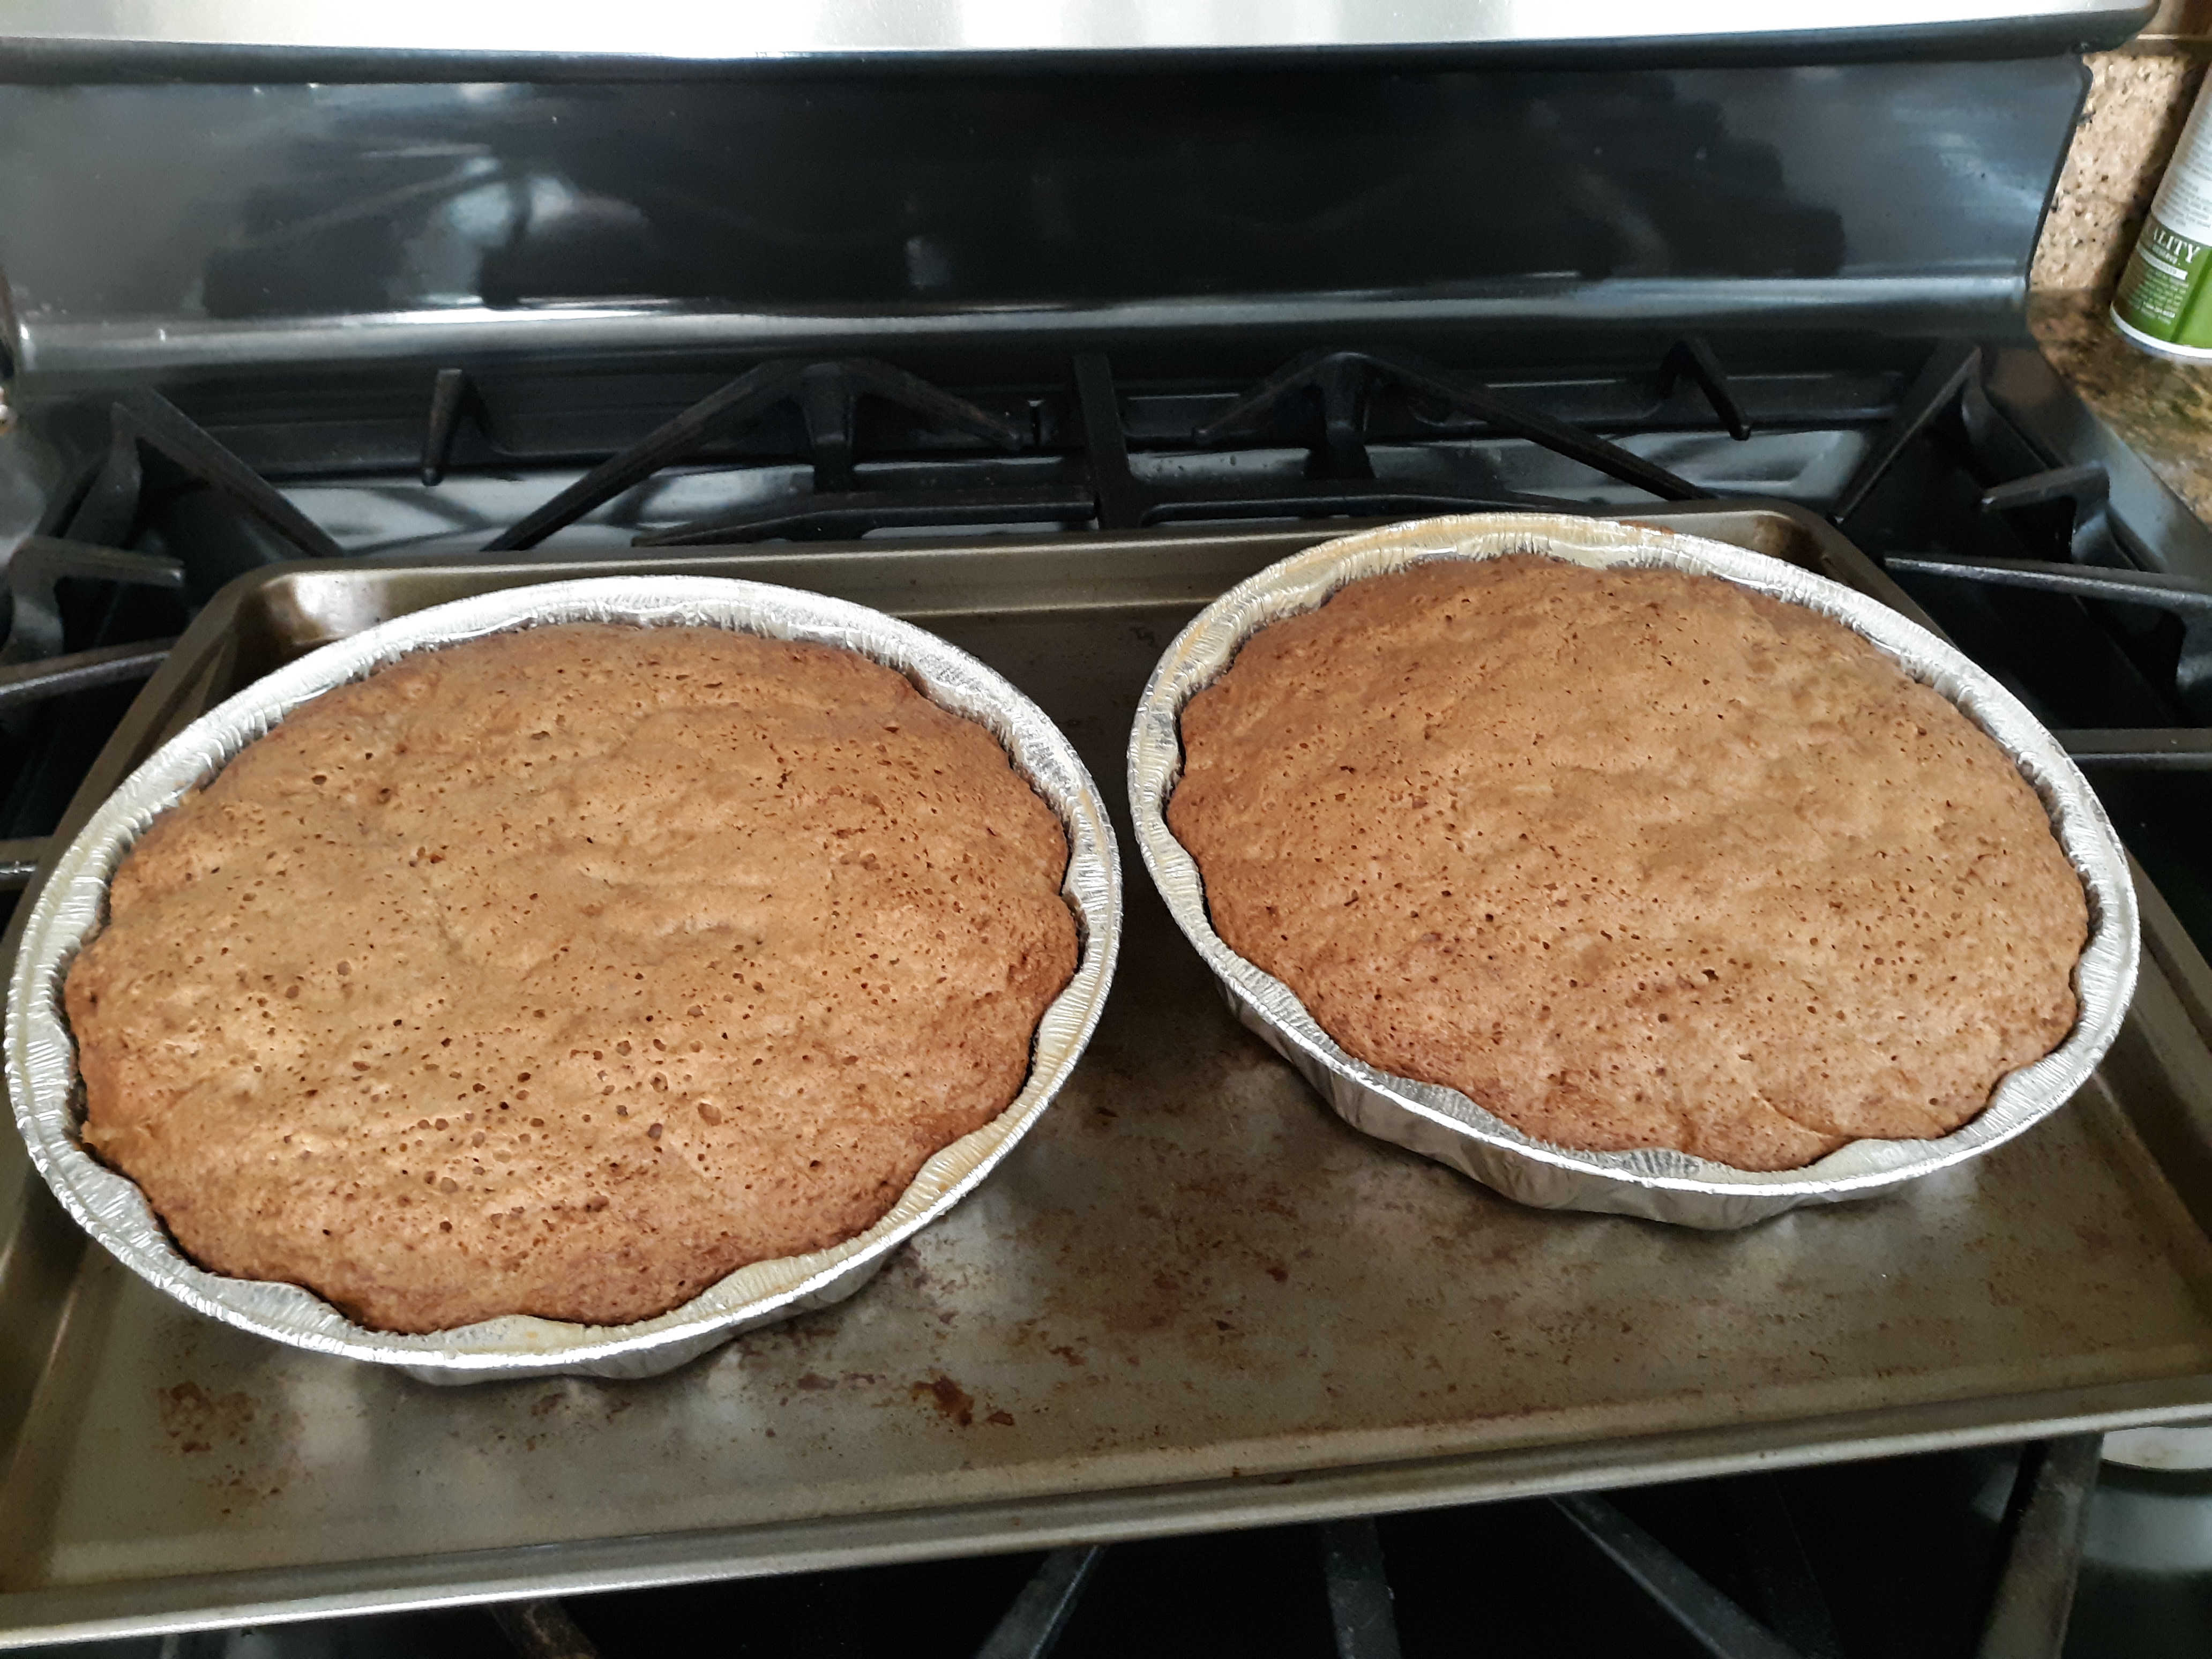
cooked carrot cake
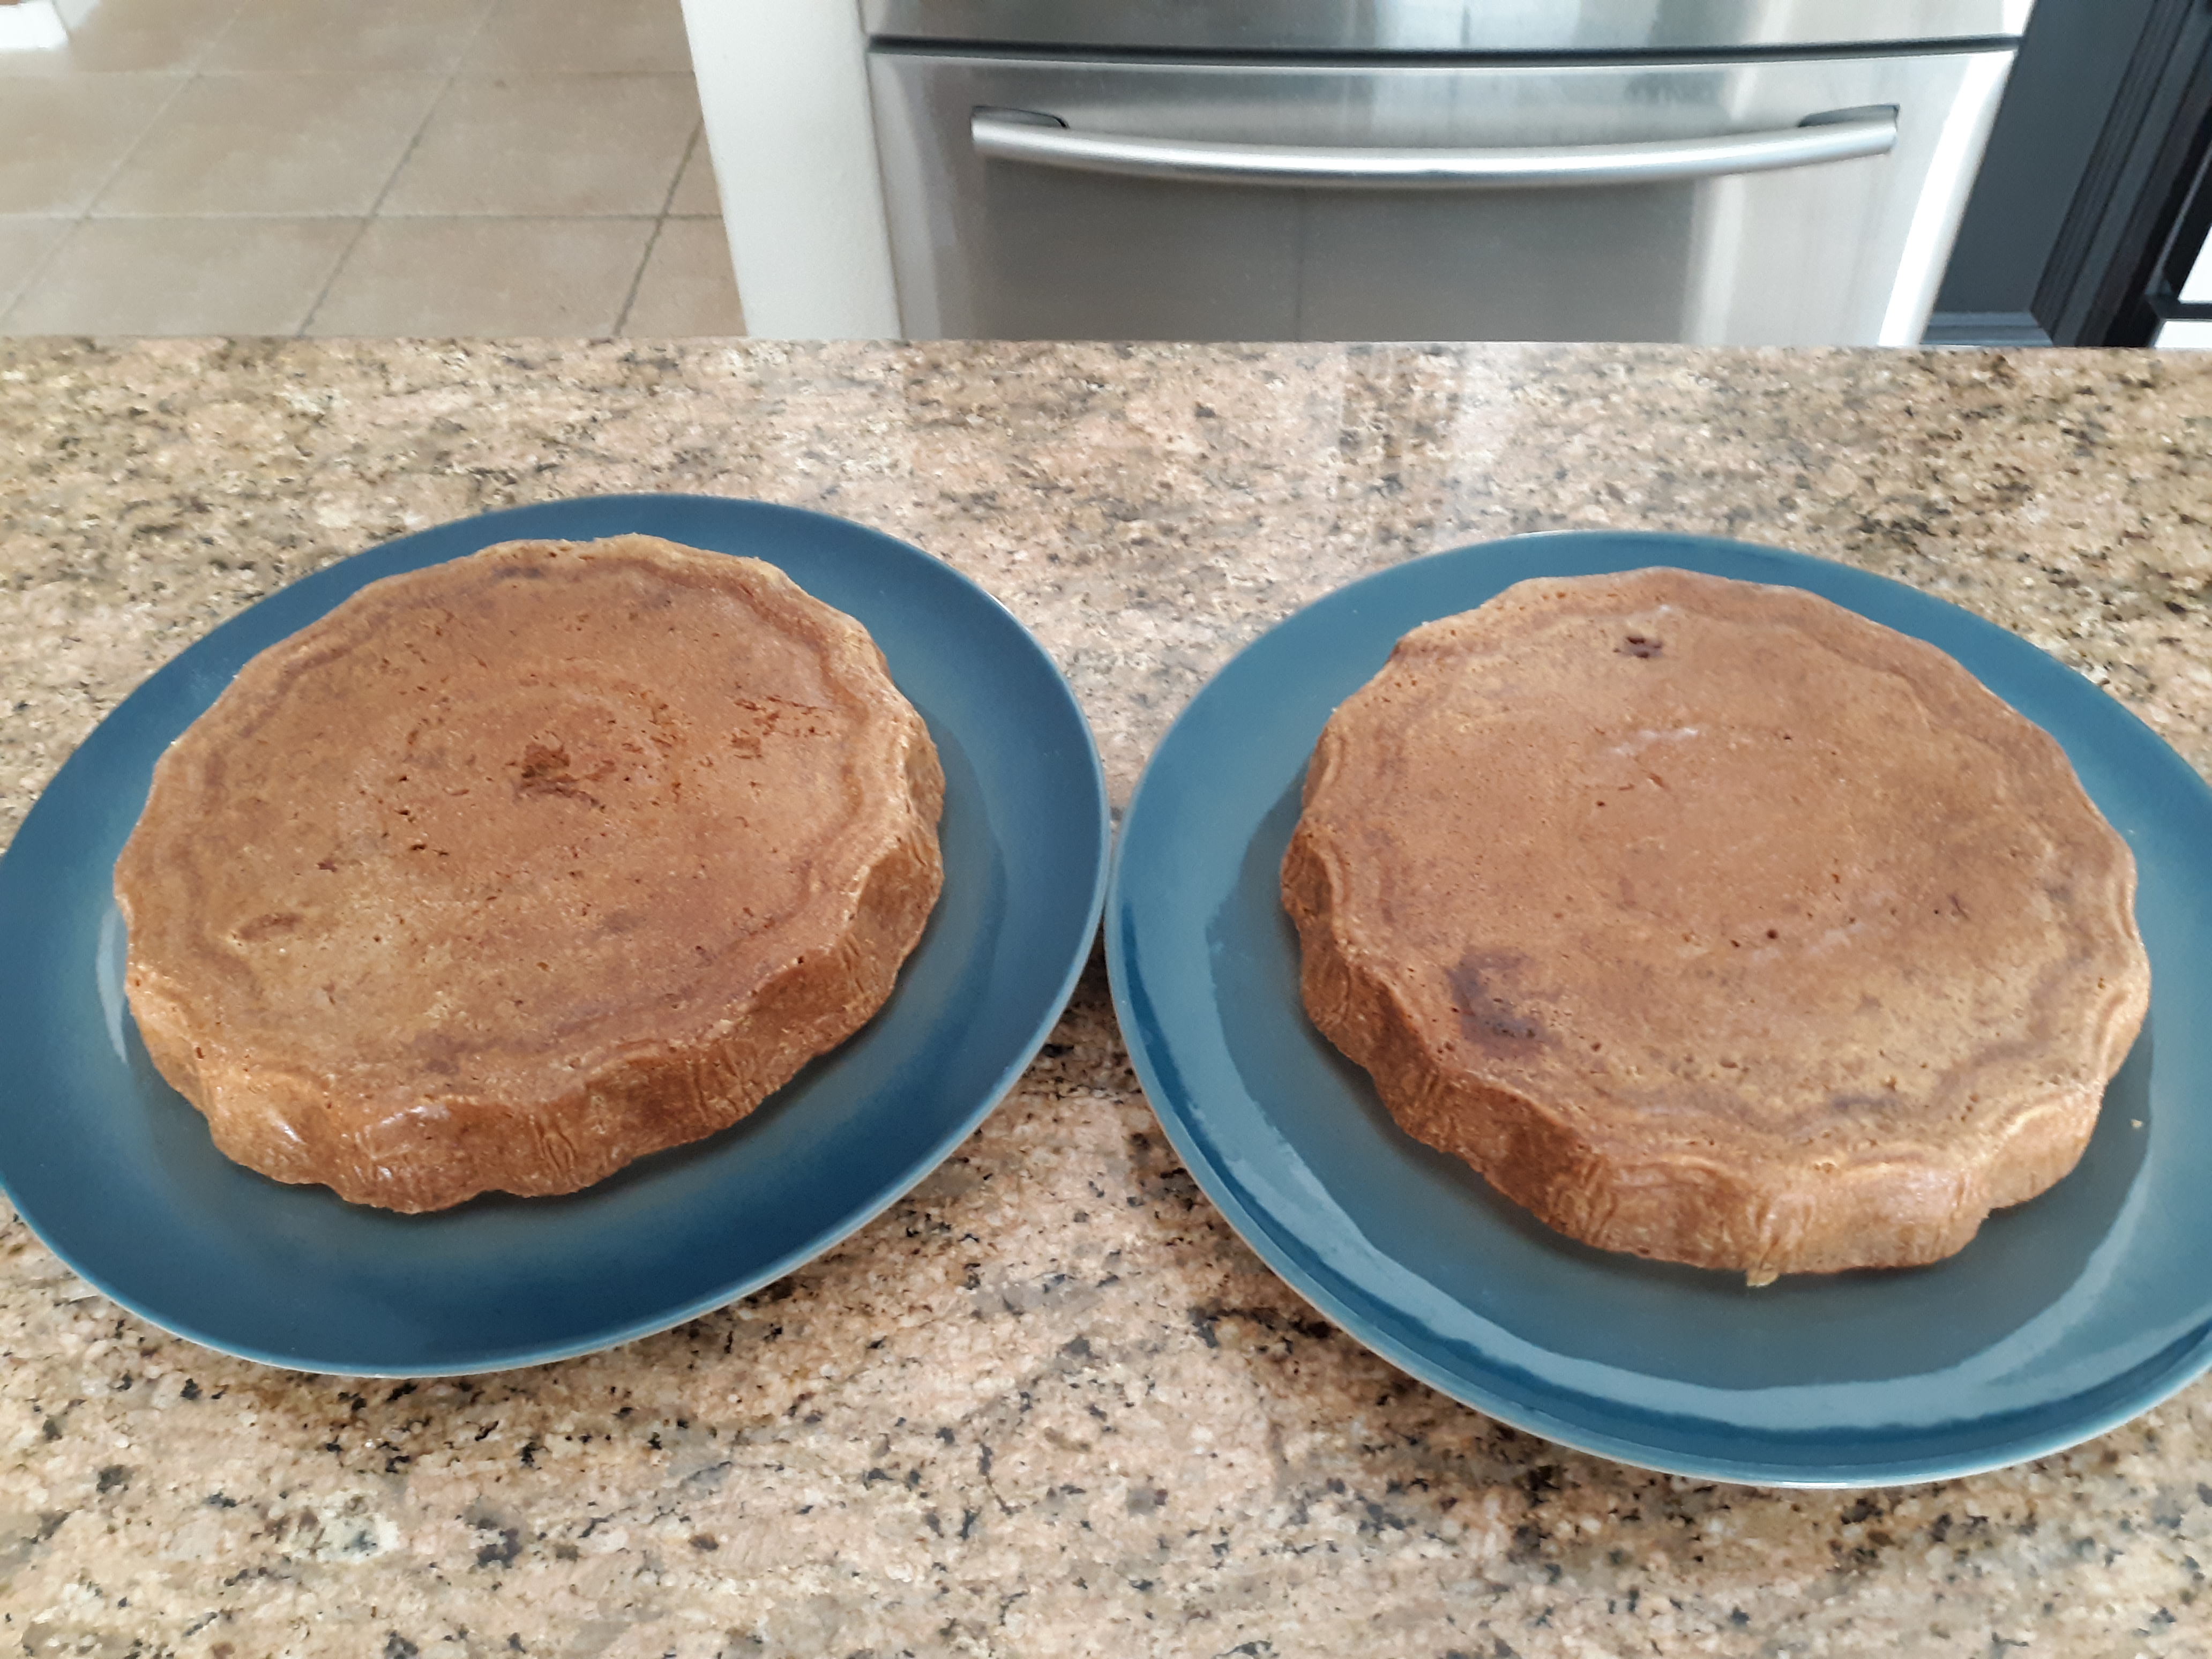
cooked carrot cake

carrot cake cooling on plates

carrot cake cooling on plates

As you can see, the foil baking rounds created a lovely edge for the cake. Now to level the layers, so the cake sits evenly.


After leveling the cake, I took a close-up photo to show the texture of the cake. Also, with the leveling, I got to sample everything before it was assembled into the finished cake. Bonus!

finished carrot cake
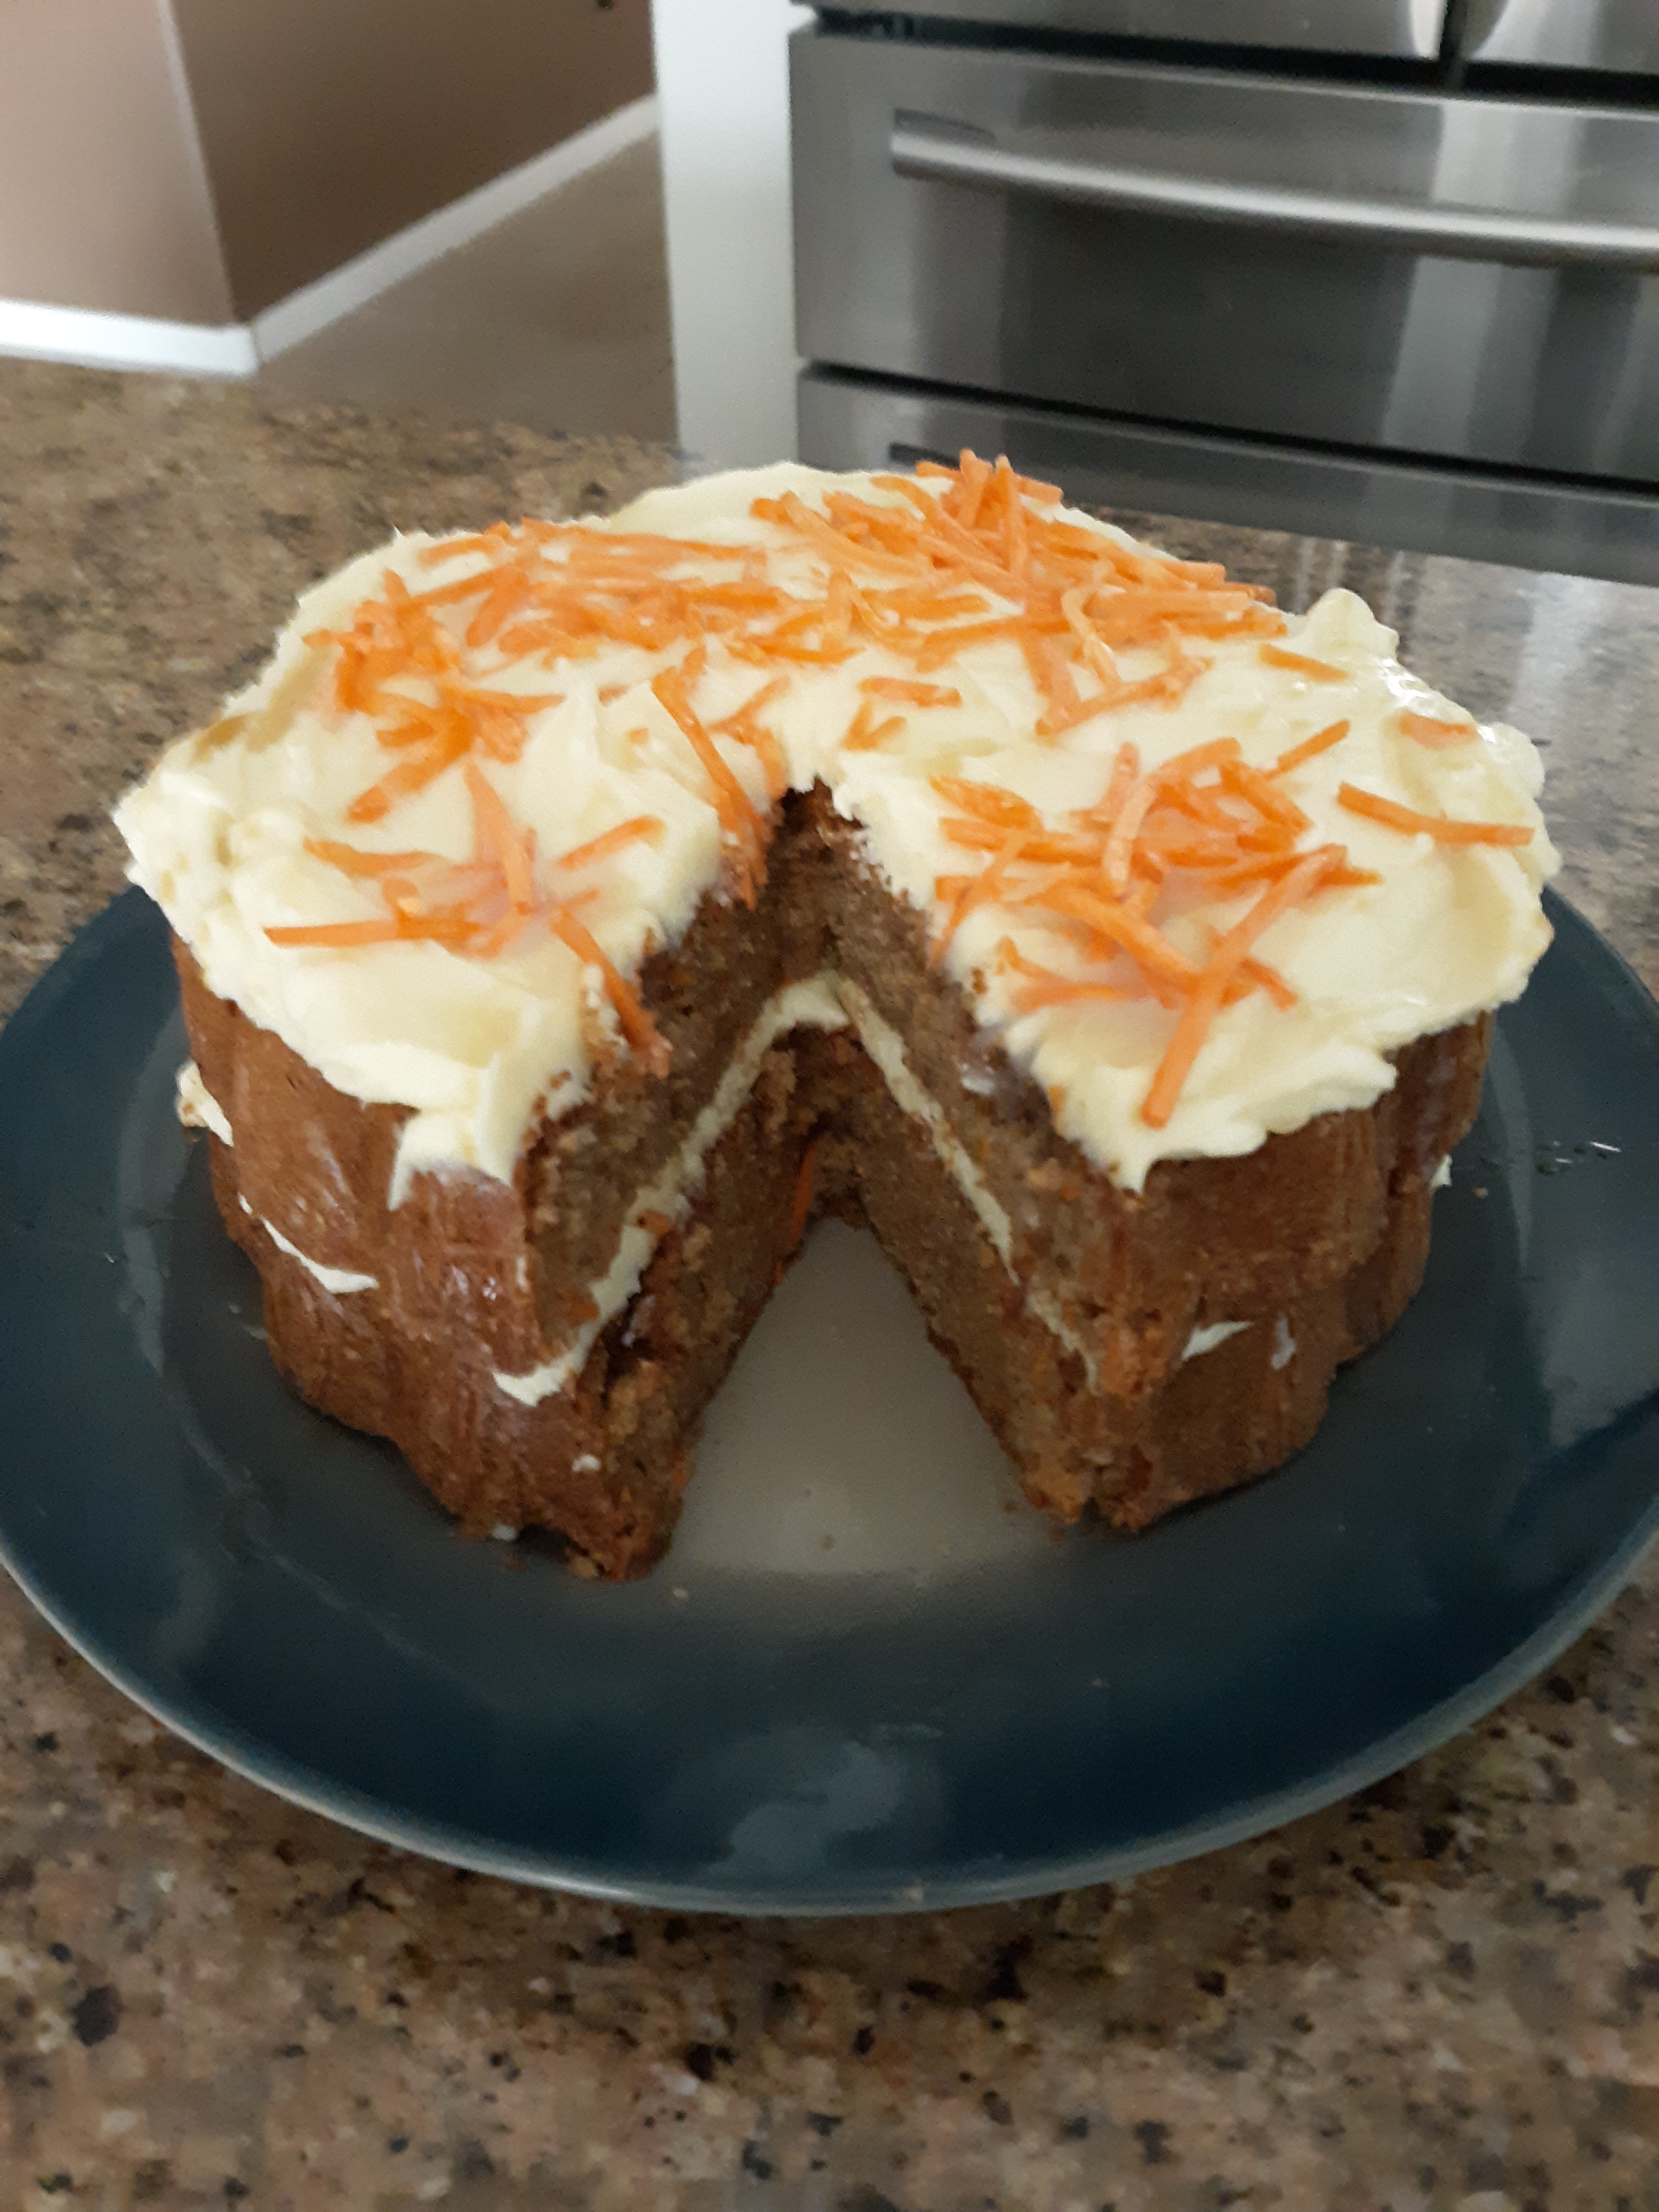
finished carrot cake

sliced finished carrot cake

sliced finished carrot cake

I frosted the bottom layer and drizzled some caramel on it, then put on the top layer repeating the process, and finished it off by sprinkling some shredded carrots on top. Obviously, my grandmother would be mentioning that the caramel could have been darker. I also drizzled some pancake syrup on it again for the desired possible hint of maple effect. It does not look like the photo from the pin, but we’ll just say I made it my own from the creative end. Oh! I almost forgot; you’ll notice there are no pecans on the cake. Yeah, I forgot to buy those.  Still delicious!

Leave a comment

Dublin Coddle and Irish Soda Bread

In honor of St. Patrick’s Day, I thought I would make some traditional Irish fair. I didn’t want to go the corned beef and cabbage route, so I looked around for some interesting sounding dishes that were different. Now, the one, the Irish Soda Bread, is pretty traditional. I found one that used oatmeal in the recipe, so I figured that was good enough for the different category. The other dish I found looking up one of the “100 Greatest Irish Dishes” lists. Got past all of the corned beef this and cabbage that recipes and settled upon the Dublin Coddle. The original recipe is here. Surprisingly, didn’t stray too far from the recipe on this one. LOL

Dublin Coddle – Irish Sausage, Bacon, Onion and Potato Hotpot

5 lb bag of potatoes

2 large onions, peeled and sliced thickly

1 lb of good quality pork sausages

1 lb of thick cut bacon

2 cups of water

1 ham (beef or chicken) stock cube

3 – 4 T fresh parsley, chopped

Salt (to taste)

Pepper (to taste)

Directions:

The potatoes need to be peeled and cut into 2 -4 chunks depending upon how big they are. The small ones can just remain whole.

DC_potatoes

The onions need to be sliced thickly and set aside

DC_Onions

The 1 lb of pork sausage and 1 lb of bacon are to be cooked long enough to give them color. They will be sitting in a pot for hours in the oven, so giving them a hint of color to begin with will suffice.

DC_Sausages DC_Bacon

The stock cube is put into the 2 cups of water to dissolve, and the water is brought to a boil.

There is the choice to leave the sausage whole or cut them up. I choose to cut the sausages into thirds, and just cut the bacon in half.

I also did not drain the sausages or the bacon in the traditional sense…..I put the bacon and sausage fat in the pot.

DC_IngredientsDC_Layers

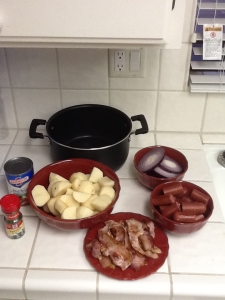
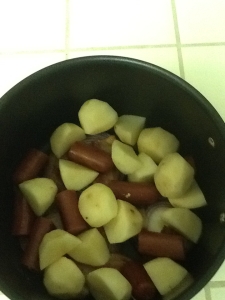
The oven is preheated to 300 degrees. In a large heavy pot (that can go on the stove and in the oven) you start layering the ingredients: onions, bacon, sausage, potato, parsley, salt and pepper then repeat. This layering continues until all of the ingredients are used up. Then the stock water that you made is poured on top, and the water is brought to a boil on the stove. From here you put the lid on the pot and place it in the oven. I chose instead just to cover the top of the pot tightly with foil. This worked fine.

It is supposed to cook for 3 hours with a check on the water level after 2 hours. More water should be added to make sure that there is a minimum of 1 inch of water in the pot.

I used a small can of beef broth instead of the stock cube, and there was never a need to add more water to the pot.

What to do during the hours of cooking?

While Bakin

Hey, how did THAT picture get in there?

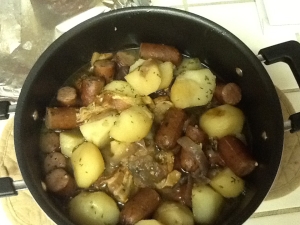
Additionally, I only cooked mine for about an hour and a half and when I checked everything it was done. So at that point I took it out and let it sit on the stove for a short while before tasting.

DC_Finished

And this cooking faster let me make the soda bread quicker.

Irish Oatmeal Soda Bread

This recipe is pretty straightforward with ingredients and execution.

Ingredients:

4 cups all purpose flour

1/3 cup old fashioned oats

2 tbsp sugar

1 tsp baking soda

4 tbsp cold butter, cut into small chunks

1 ½ tsp salt

1 ¾ cups well-shaken buttermilk

1 egg, lightly beaten

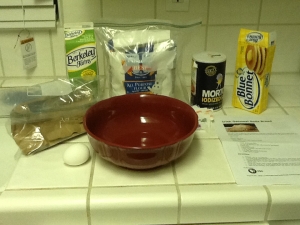
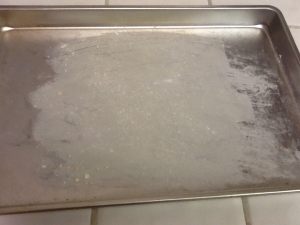
The oven is heated to 375 degrees and instead of a bread pan; this bread is cooked on a parchment lined cookie sheet. I did not have parchment paper, so I greased and floured a round portion of cookie sheet. The bread did not stick.

SB_IngredientsSB_Pan

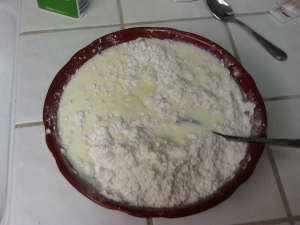
The flour is combined with the oats, baking soda, sugar and salt. The butter is cut into this with your hands, making sure that any large lumps are gone.

The egg is lightly beaten and combined with the buttermilk.

SB_Mixing

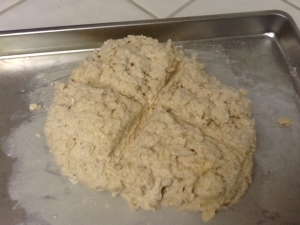
The dry ingredients are mixed with the wet, and the mixture is formed into a round-ish ball. It is a free-form loaf, so you can shape how you want. This is then placed on the parchment lined baking sheet, and placed in the oven for 50 min.You cut an X into the top of the loaf before it bakes. It is recommended to let it cool for 10 minutes before slicing.

SB_Cooking

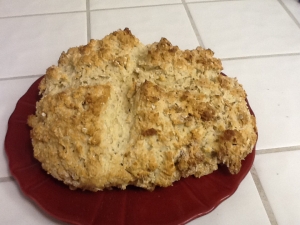
When I made the bread, I looked to see if it still had a wet look about it, when it looked dry was when I took it out.

SB_Finished

Sadly, there was no Guinness to be had with this meal, but it was a good choice all the same.

Happy St. Patrick’s Day!


Leave a comment

Breakfast Lasagna – My Style

I think I have come to the conclusion that I could be Betty Crackpot when it comes to cooking. (Did you get the reference above?) Anyway, saw a recipe for Breakfast Lasagna and wanted to make it. Really it was the bacon in the photo that got me :-). So I went to the store with the recipe. Okay, I forgot the recipe I was going to bring, so found it on my phone when I remembered that I forgot it. Anyway, not important…..let’s move on…..

So looked at the ingredients:

Maple Bacon Sauce

1 lb of bacon (had that)

¼ c of flour (had that)

1 c maple syrup (had that)

½ c heavy cream (needed that) *

* Yeah, that turned into just using milk that I already had

Sausage Gravy (did not make this so needed none)

Pancakes (I used a mix so just needed to add water)

Scrambled Eggs **

** I only used the eggs of that recipe, didn’t even use salt.

Then I decided that I wanted to add hash browns to the recipe, so I picked up a 20 oz  package of shredded potatoes.

For the cheese the recipe called for, instead of 1 lb of shredded, I got an 8 oz pkg of Co-Jack slices. I also didn’t put it in the eggs like the recipe said. Such a hellion!

[BL] Recipe

So I decided to figure out what to do first – seemed best to follow some of the recipe (LOL). So I put the bacon in first at 400⁰, and let it cook for 20 min. I just put it straight on the cookie sheet.

[BL] Bacon

While that cooked, I turned to the pancakes. As stated earlier, I used the “just add water” kind and made the 12-14 pancakes recipe. I figured that it should make 9 or so “noodles”. Pulled out the griddle and proceeded to figure out how to shape them.

[BL] Noodle Cooking

I found that I needed to turn them with two spatulas to make sure they didn’t break.

[BL] Noodle Cooked                        [BL] Noodles

When that finished, I kept the griddle going and made the hash browns.

[BL] Hash Browns Cooking                      [BL] Hash Browns

I halved the potatoes and cooked them in two batches. I figured there would be two or three layers, so it would be best to break them up.

After the hash browns, I made the eggs. Instead of cooking 12 at once, I made 6 and then 6.

[BL] Six Eggs            [BL] Eggs           [BL] Eggs Cooked

Once those were done I switched out the bacon with more bacon, and poured the bacon grease in a mug. Then when all of the bacon was done cooking, I poured all the grease in a saucepan.

[BL] Bacon Grease

I stirred in the flour, then added the syrup and finally the milk. It thickened up like when making a box of cooked pudding.

[BL] Maple Sauce                           [BL] Maple Sauce 2

Now time to assemble.

[BL] Buttered Pan                           [BL] Everything Assembled

I put the four “noodles” in the bottom and realized I had more room then I thought, and the bottom layer was not going to be “touching” like the recipe said. Added the syrup mix next and then the eggs.

[BL] Egg Layer

Now, this is where I was going to put the first layer of cheese, but I forgot and put the hash browns on next. D’OH!

[BL] Hash Brown Layer                         [BL] Cheese Layer

I will remember for next layer.

I also realized that there would be only two layers like the recipe stated. I thought my “noodles” would have been longer, but they fit perfectly the way I placed them. So I put the cheese on the hash brown, and proceeded to put another layer of “noodles”, syrup, eggs, and then I did it AGAIN! I put the hash browns on the eggs instead of the cheese. Placed the cheese, in the wrong place AGAIN, and then put the bacon across the top.

[BL] Before Cooking

I noticed that my before and after cooking photos looked pretty much the same. I cooked it in the 400⁰ oven for 15 minutes.

[BL] After Cooking

Then I actually let it sit for a bit, while I made myself do something else, so that it could actually sit for a bit.

After waiting, I cut a piece.

[BL] Layer Shot                              [BL] Pan shot

The verdict is that it was delicious! I liked how after it cooked you could see the different layers, and the hash browns were still crunchy and the bacon was cooked to perfection.

Definitely making this again….probably after many, many hours of exercise!


Leave a comment

Apple Crisp

Apple Crisp

What can you do with apples?

This was the question that I was asked when someone I knew had apples that weren’t getting eaten fast enough. The apples were getting to the point of getting soft and were becoming unappealing to eat by themselves. I said why not fruit crisp? Always delicious. Then there was the issue of looking at recipes online and trying to find a recipe that had the limited ingredients that were already available.

So I looked and found a nice, simple and delicious recipe. Now, there were changes to the one I made. For example, the recipe calls for 3 Granny Smith apples, cut into ½ in. dice. My recipe consisted of “all of the apples that are not going to get eaten, cut up, so they fit in the pan”. Additionally, the recipe called for cinnamon and nutmeg. My recipe omitted them because there wasn’t any. Yes, I could have gone out and bought some, but this would have most likely been the only recipe they would have been used in. Minus those few minor changes, the recipe stayed the same.

So it became:

All the apples no one was going to eat, cut up, so they fit in the pan

¾ c brown sugar

½ c old-fashioned oats

½ cup all-purpose flour

1/3 c butter softened

(original recipe: 3 Granny Smith apples, cut into ½-in dice, ¾ t cinnamon, ¾ t nutmeg)

I preheated the oven to 350⁰ and spread the apples in the pan I was using (recipe calls for 9-in square pan). I combined the flour and brown sugar, (you would put in spices here as well), stirred in the oats and cut up the butter and worked the mixture into a crumbly texture. This topping was spread over the apples, and it was placed in the oven for approximately 30 minutes.

After that time, I took the pan out of the oven and let it cool on the stove before placing the apples in a Tupperware container. Now they can have apple crisp for days!

Leave a comment

Two Ingredient Cake

Follow my blog with Bloglovin

So I found a recipe for cake using two ingredients, and I thought I would try to make it. Now all of the things I try to make might start out as one thing, but some somehow become another….sometimes they become unrecognizable. So, when I try new things I make sure that before I share with anyone else, I try it first. If it passes my approval, I will try it on someone else. If it is food and the reaction is, “I would rather eat dirt”, then it goes no farther.

So the cake, it is swirling around the Internet and once I tell you the two ingredients it will most likely be familiar to some. The ingredients are a box of cake mix (18.25 oz) and a 15 oz can of pumpkin. That is it. The pumpkin takes the place of the oil, egg, and water that normally gets added to the box mix. Now, I was going to give this to someone who was not a big fan of pumpkin, so I used chocolate cake to mask the pumpkin flavor. I have seen others use spice cake, yellow cake, or some other flavor and then play up the pumpkin by adding spices normally seen in pumpkin pie. I might try that in the future, but I needed to see how it would turn out first.

So I followed the recipe that I saw, put the cake mix and pumpkin together and then poured into a greased and floured pan. I cooked it at 350⁰ for 30 min, and it did not need extra time. I let it cool in the pan and then cut it. I have seen others who have felt the need to add water or other ingredients to the cake mixture, because they did not feel it was the consistency that they were looking for. I felt that it was okay with just the two ingredients. Side note: I also have the tendency to add one too many things to recipes and ruin them, so I wanted to give this a shot the regular way before I “helped” it into the garbage.

The cake consistency was moist and somewhat sticky, but not bad. It was good straight from the pan, and also good a day and two later. I believe this will become my new way to make cake. I see no reason to return to the other waybecause this came out great in my mind, and it was a hit all the way around. I will probably (cross your fingers) experiment slightly with different flavors and see if I can bring out the pumpkin flavor. At least see how much pumpkin flavor comes through if I use a white or yellow cake mix. For now, I was satisfied that it was delicious and moist.

Ingredients: One box cake mix (18.25 oz)

15 oz can pumpkin (not pumpkin pie mix)

Directions:

  1. Preheat oven to 350⁰
  2. Mix together cake mix and canned pumpkin
  3. Pour into greased (I also floured) 9 x 13 pan
  4. Bake 25 to 30 min. Cake is done when knife inserted comes out clean

You can also turn these into muffins/cupcakes if you like as well.

(I will make it again and take a pic)